Seidlitz Education Logo


Tips and Tricks

Volume 11: Easy and Engaging Warm-Ups

January 9th, 2025

Uncover the Picture
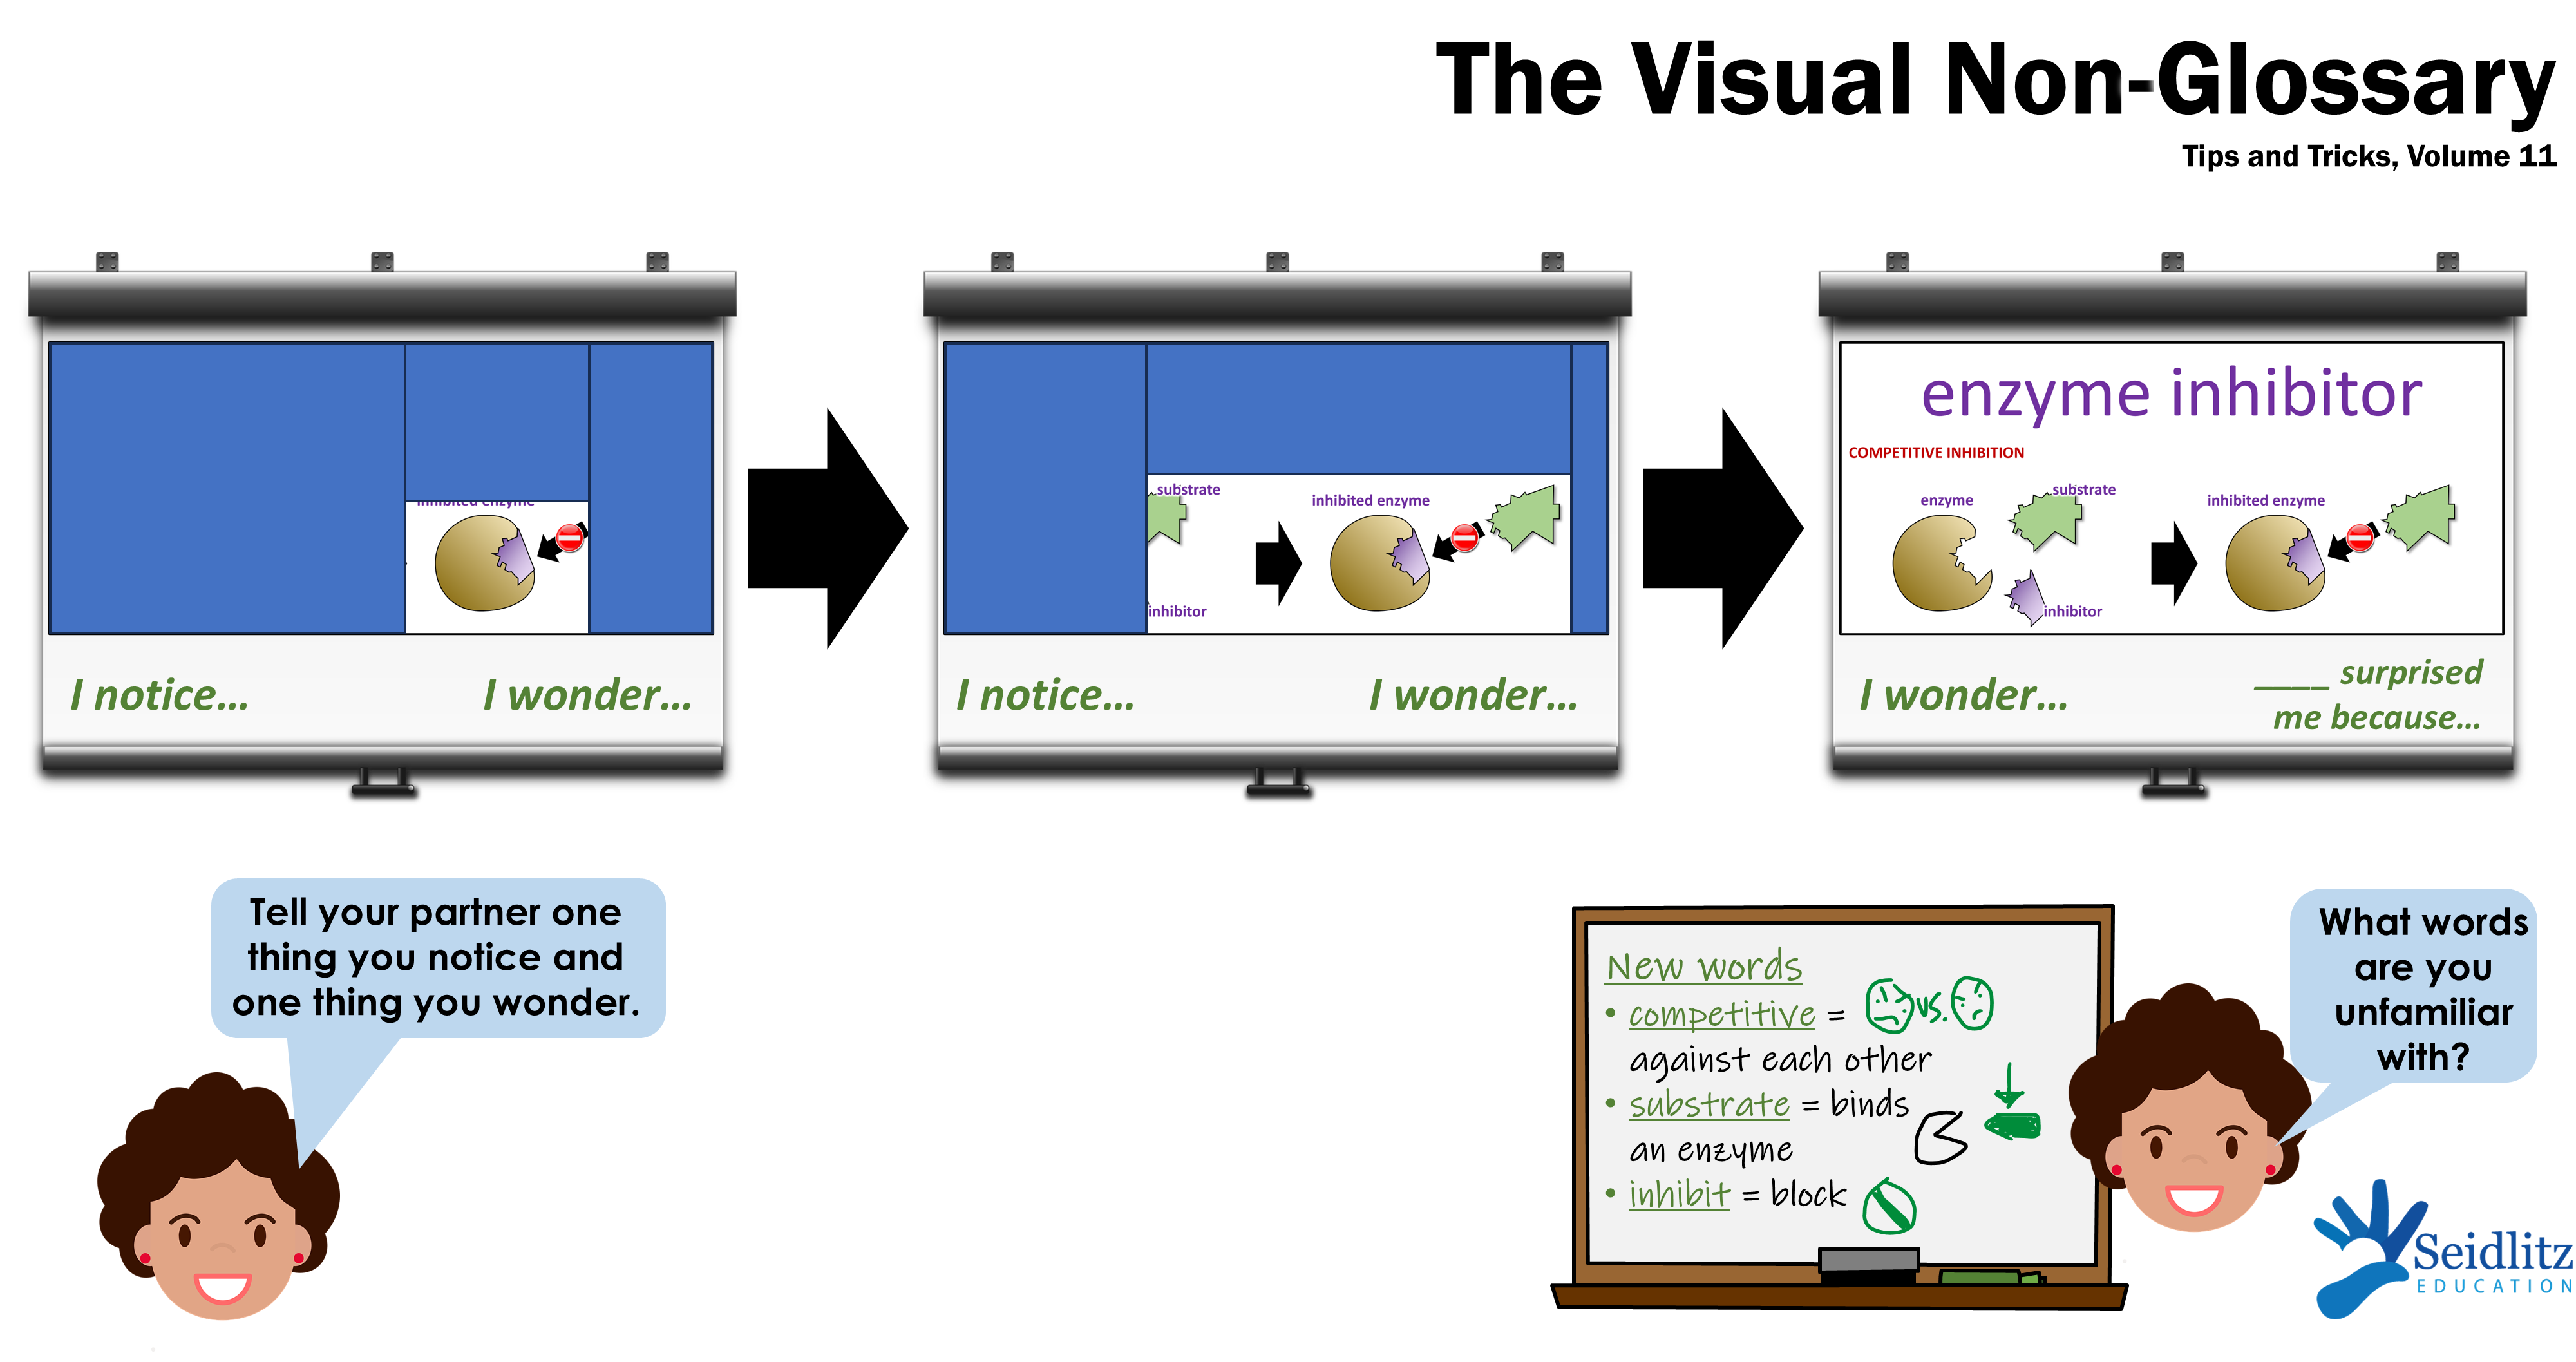
Have a complex visual? Want to quickly engage students at the beginning of the lesson? Try the Uncover the Picture strategy from Teaching Science to English Learners (p.16) by Stephen Fleenor and Tina Beene. Here’s how it works:
  1. Cover up most of the visual with rectangles, and ask students to write or share verbally what they notice and/or wonder from what they can see.
  2. Remove one or more rectangles and again ask students to share what they notice and/or wonder.
  3. Remove all of the rectangles and ask students to share what surprises them and/or what they wonder.
This process builds suspense and makes students focus on key parts of the visual, which builds their ability to make inferences from complex visuals.
Not sure how to do this, technically? See these tutorial videos explaining how to do it in Microsoft PowerPoint or Google Slides.

Identifying Unfamiliar Words
The VNG visuals are designed to focus on a key word (such as enzyme inhibitor) but include other academic words aligned to the standards (competitive, substrate, enzyme, for example). When we ask students to identify unfamiliar words, we can create an anchor chart for the lesson that shows pictures or simple definitions of these words. One method of doing this is:
  1. Ask students to share with their partner or group any words in this visual which they haven’t seen before or which they’re not sure about in this context.
  2. Call on students to share whole-class the words they came up with.
  3. Write down each word on chart paper or a whiteboard as students share them, then give a simple (one- to three-word) definition and/or draw a simple picture representing the word.
  4. Tell students that these words are going to come up in the lesson again, and they should be sure to refer back to this anchor chart when they see these words.

Volume 10: Familiarizing Students with the VNG

August 12th, 2024

The color-coding of the Visual Non-Glossary is very intentionally designed. Sometimes specific units of study are color-coded:...

Cueing Students to the Purple
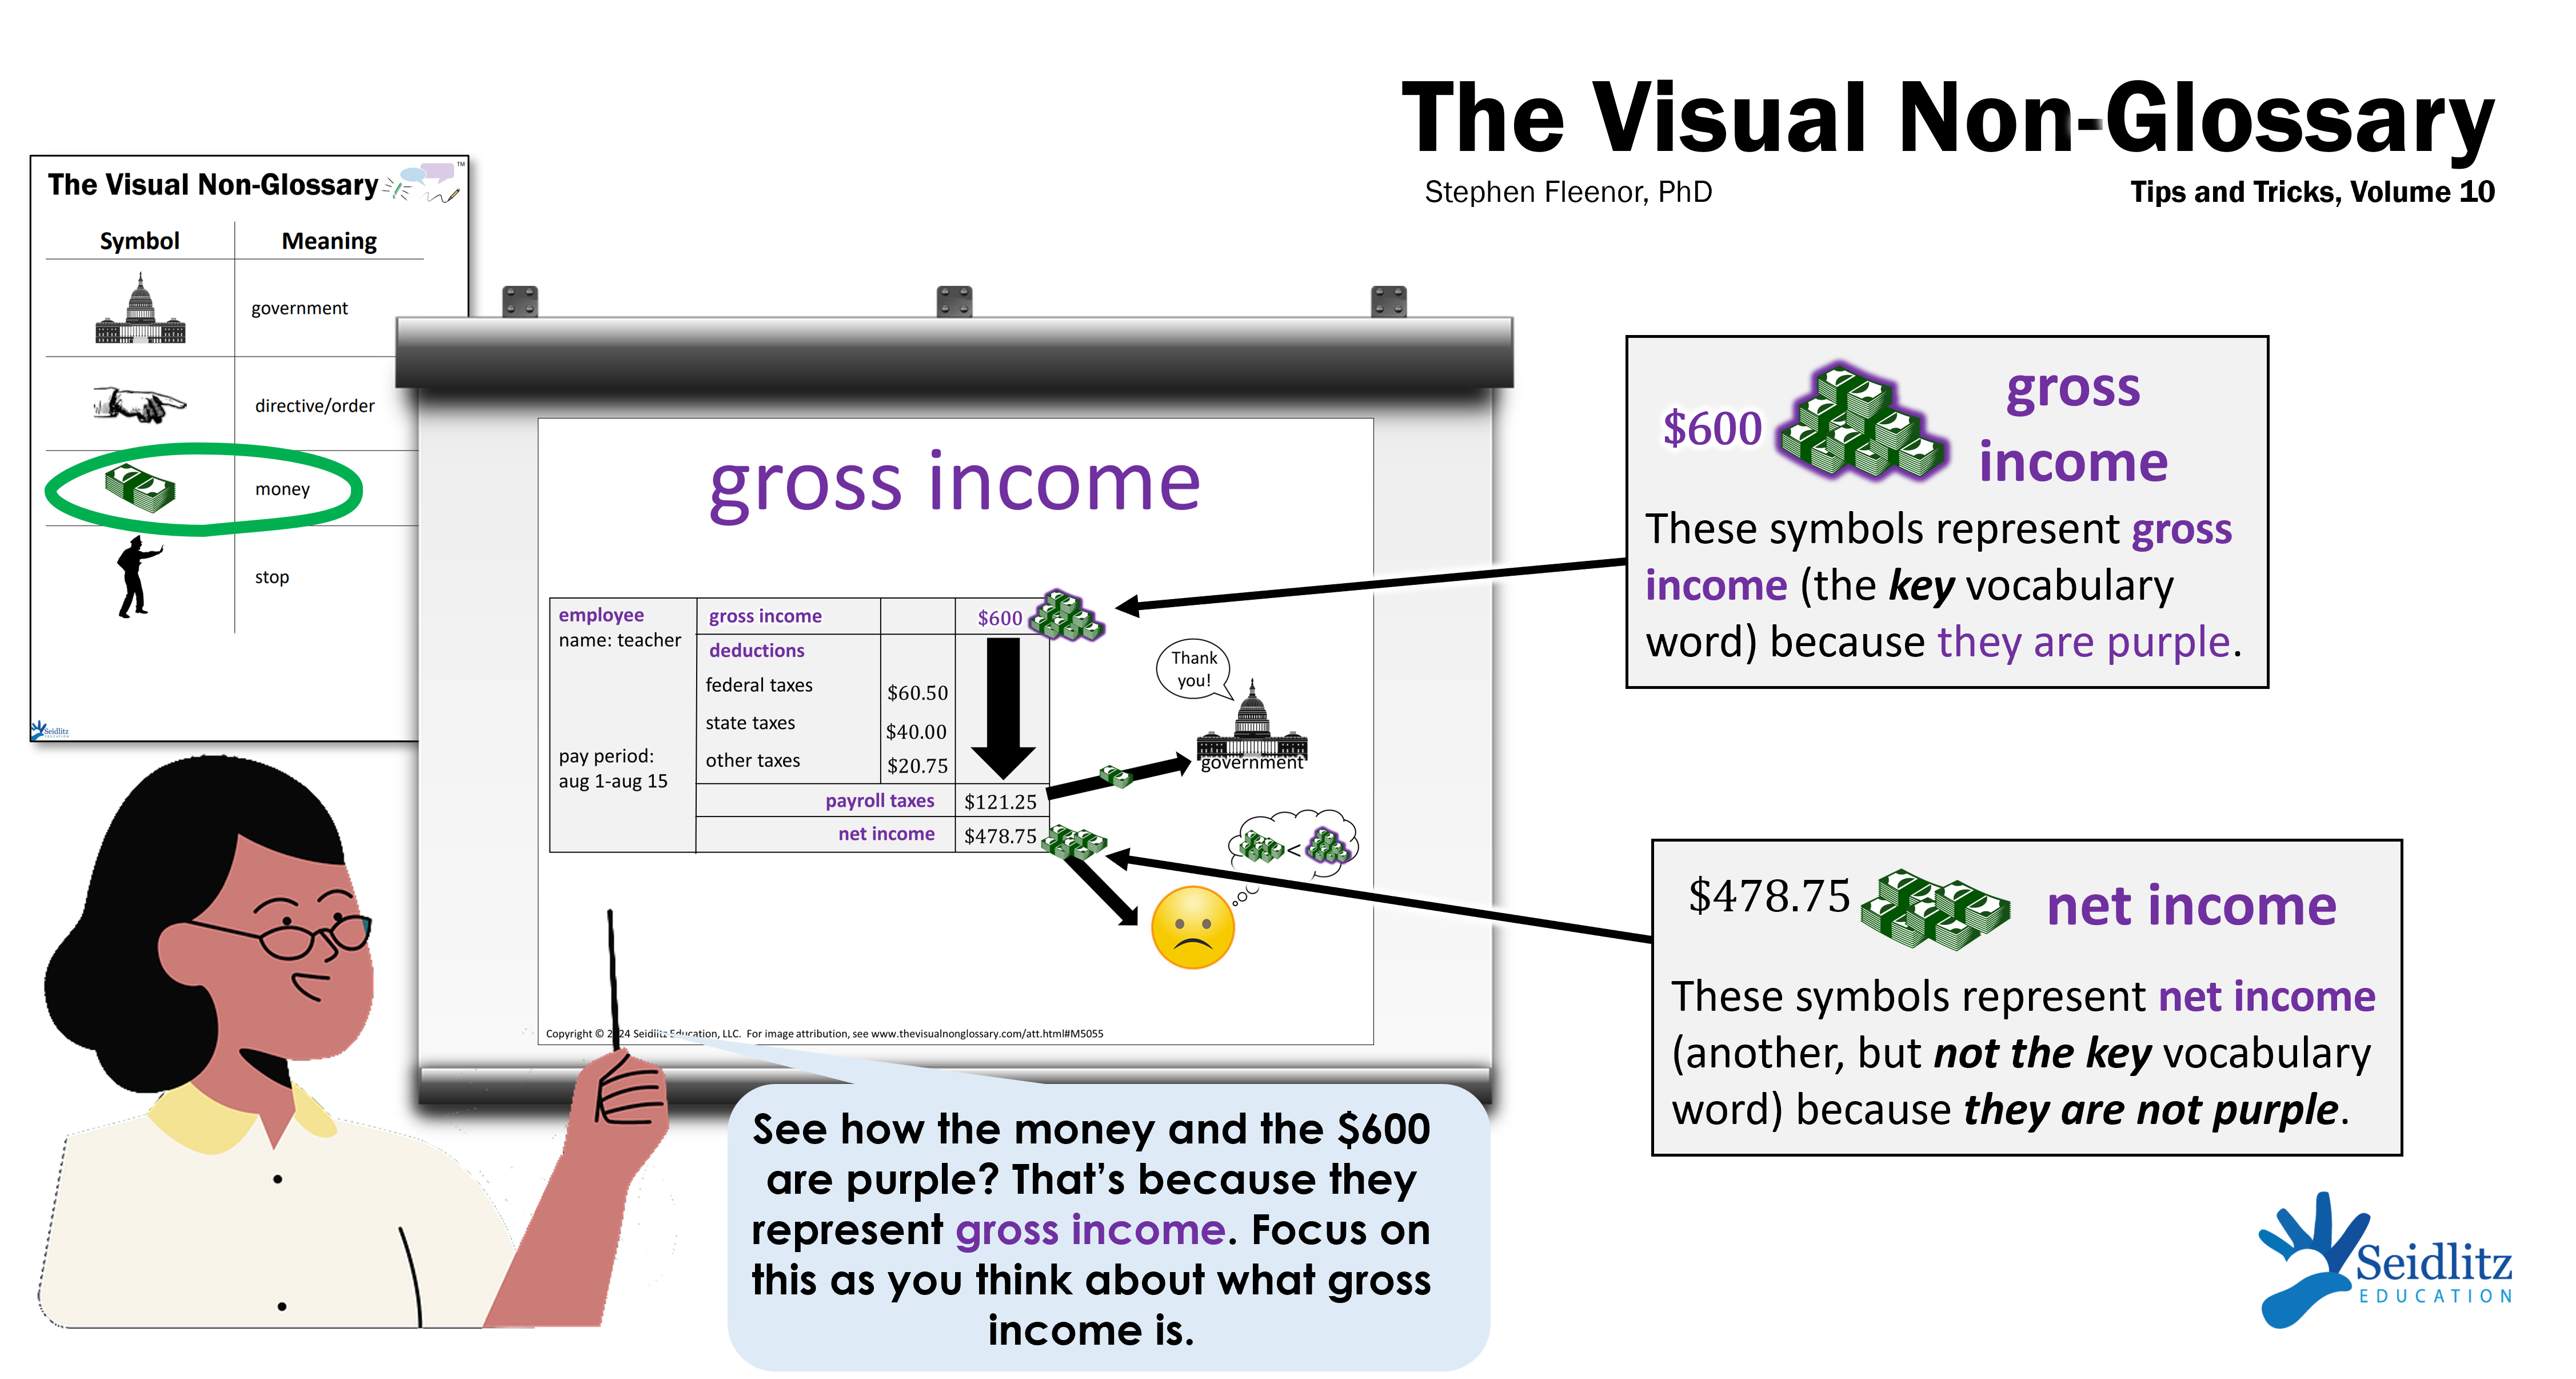
The color-coding of the Visual Non-Glossary is very intentionally designed. Sometimes specific units of study are color-coded: the Union is blue in the Civil War visuals of the US History, or x1 and y1 values in the point-slope form are yellow and green, for example. But consistently across all visuals in the VNG, the key vocabulary word of the visual is purple.
If you see a symbol with a purple glow, or a purple arrow, it means that that icon represents the vocabulary word. The secondary consumers of a food web have a purple outline in the secondary consumer visual, for example. A great way to help students navigate VNG visuals is to have them first identify the purple icon and words in the visual, and then explore the context around that icon. Here is a short video modelling how to explore the visual for the Pure Food and Drug Act.
Note: other words in the VNG visuals are also purple. These words also have visuals aligned to the same grade level.

Teaching Students the Symbols of the VNG
Some symbols are used throughout the visuals of the VNG. For example, a battery is used to represent energy, and a newspaper is used to represent a major (news-worthy) event. Especially in the beginning of the year, teaching students what certain symbols mean can help build their inferencing skills and make them less likely to feel overwhelmed when they look at a detailed visual.

To easily teach students symbols, you can print off this anchor chart and point to the common symbols on the anchor chart every time each one appears in the visual. After a few days or weeks, students will learn to look at the anchor chart, or simply learn the symbols. And as a class, you can be on the lookout for other common symbols, and add them to the anchor chart as you encounter them.

Volume 9: Utilizing Word Walls

August 24th, 2023

Word wall visuals are much simpler than structured visuals. Whereas structured visuals are more...

Building Your Word Wall throughout The Unit
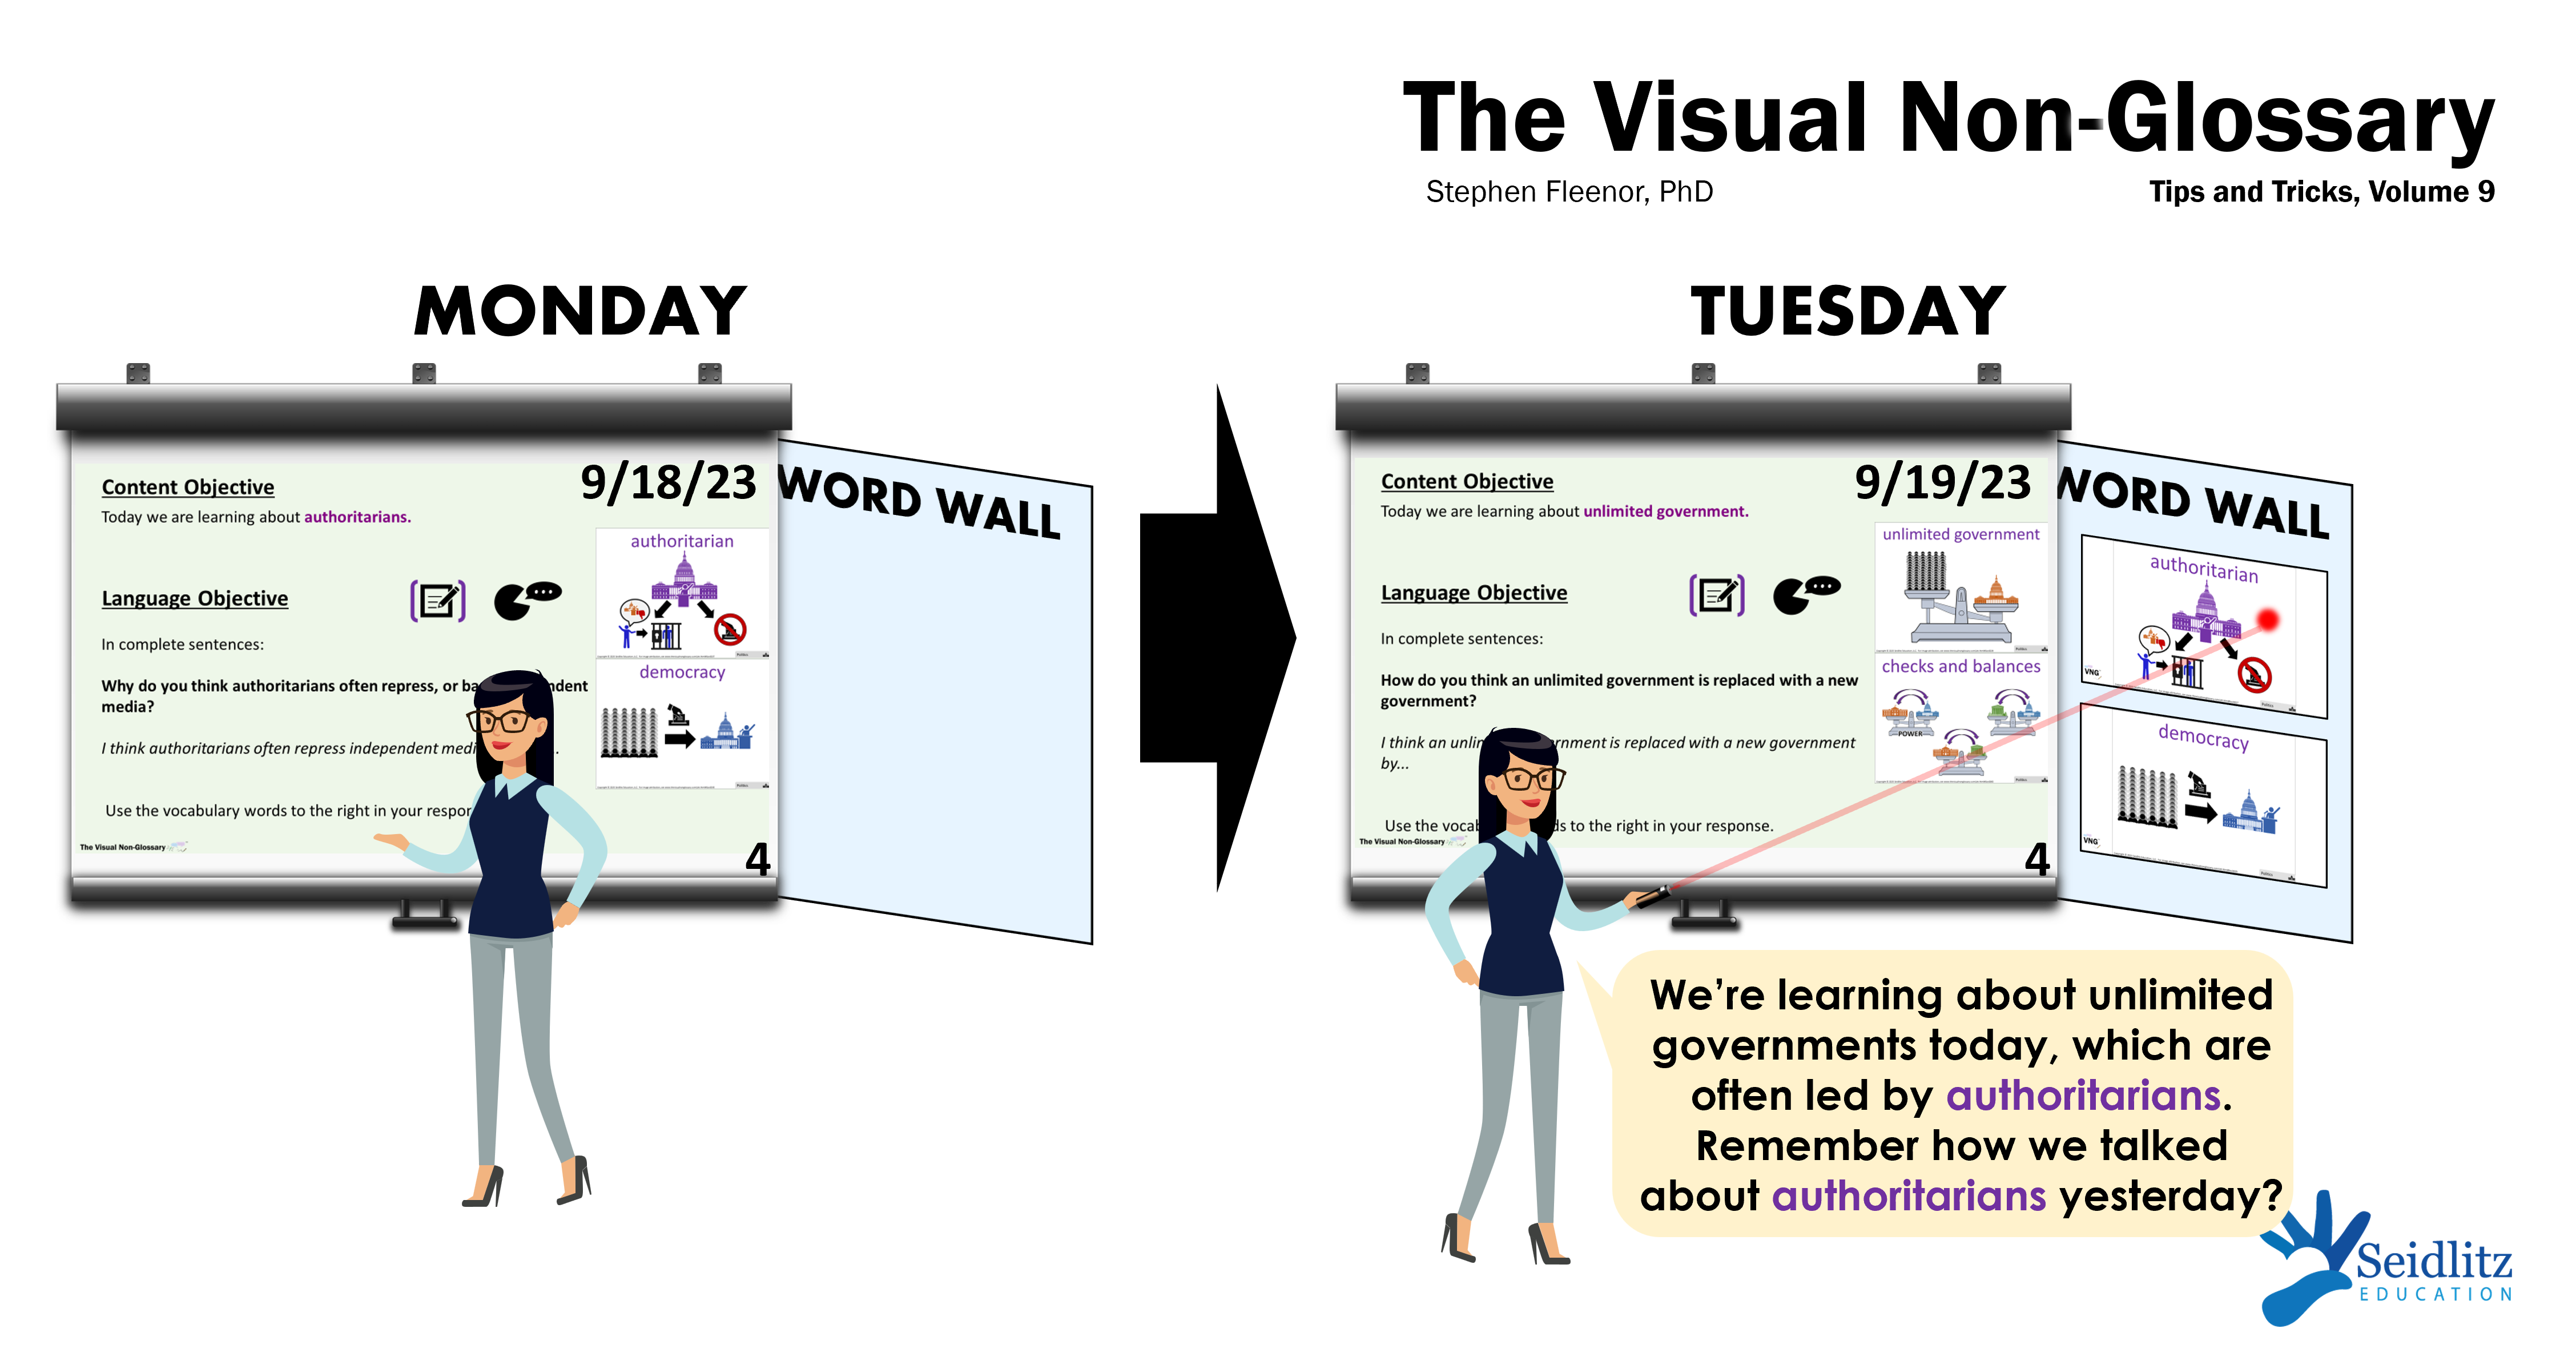
Word wall visuals are much simpler than structured visuals. Whereas structured visuals are more detailed and layered for rich conversations, word wall visuals are simply meant to remind a student of a previous lesson featuring that visual. Word wall visuals appear in the new slide decks starting on Slide 6, and when printed out on an 8.5x11” piece of paper, should be clear and visible across the classroom.

Instead of setting up a word wall for all of a unit’s words at the start of a unit, try adding to the word wall one day at a time. If we introduce the word wall visuals with the lesson’s objectives (see Slides 4 and 5 and Tips and Tricks Volume 8), we can move those visuals to the growing word wall at the end of the day, and refer back to them when those words come up in subsequent lessons.


Personalized Student Word Walls in Interactive Notebooks
Students can have a section of their interactive notebooks where they build their own word walls as the unit progresses. This can double as a student-made glossary if students write their own definitions next to the visuals, or write out their answers to one of the guiding questions using the provided sentence stems next to the visual.

To easily provide word wall visuals for students to tape or glue into their notebooks, create a PowerPoint or Google Slides file with up to six word-wall slides on it, then adjust the printer settings to print six slides per page. These will be small enough to fit easily into students’ notebooks, and save you a lot of paper!

Volume 8: Setting Up Expectations

February 8th, 2023

After the warm-up or bell-ringer exercise, prepare students for the lesson by having them preview visuals related to...

Frame the Lesson Using Visuals
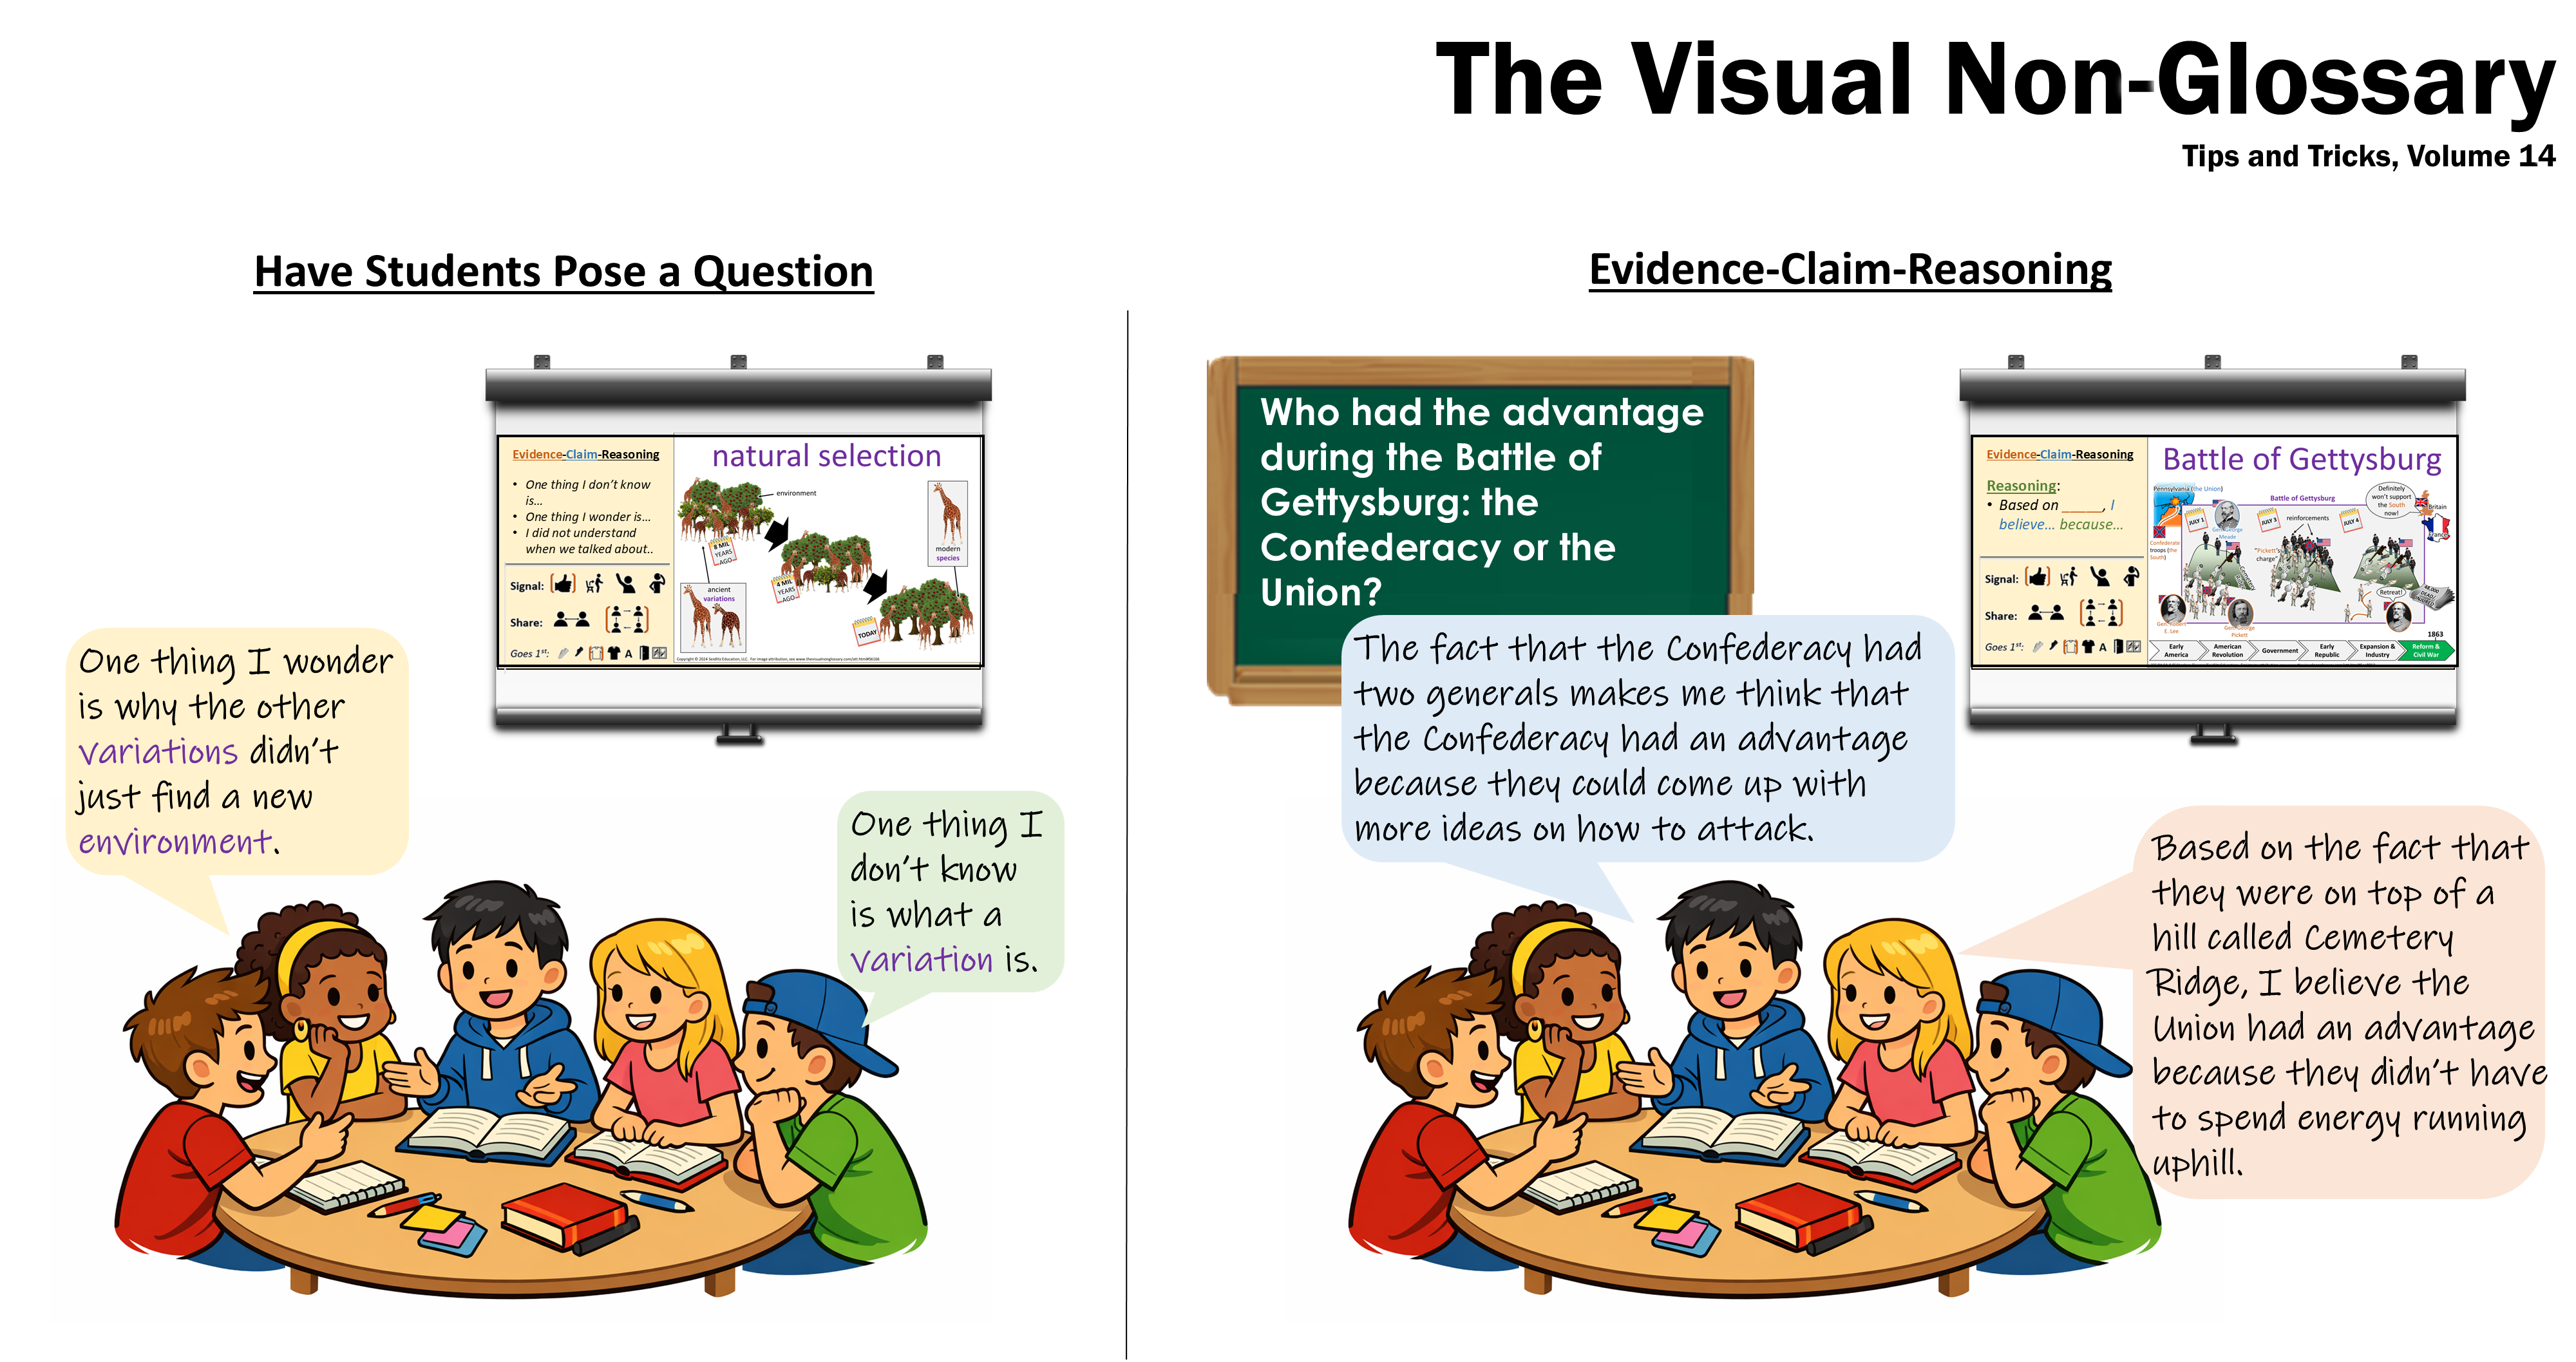
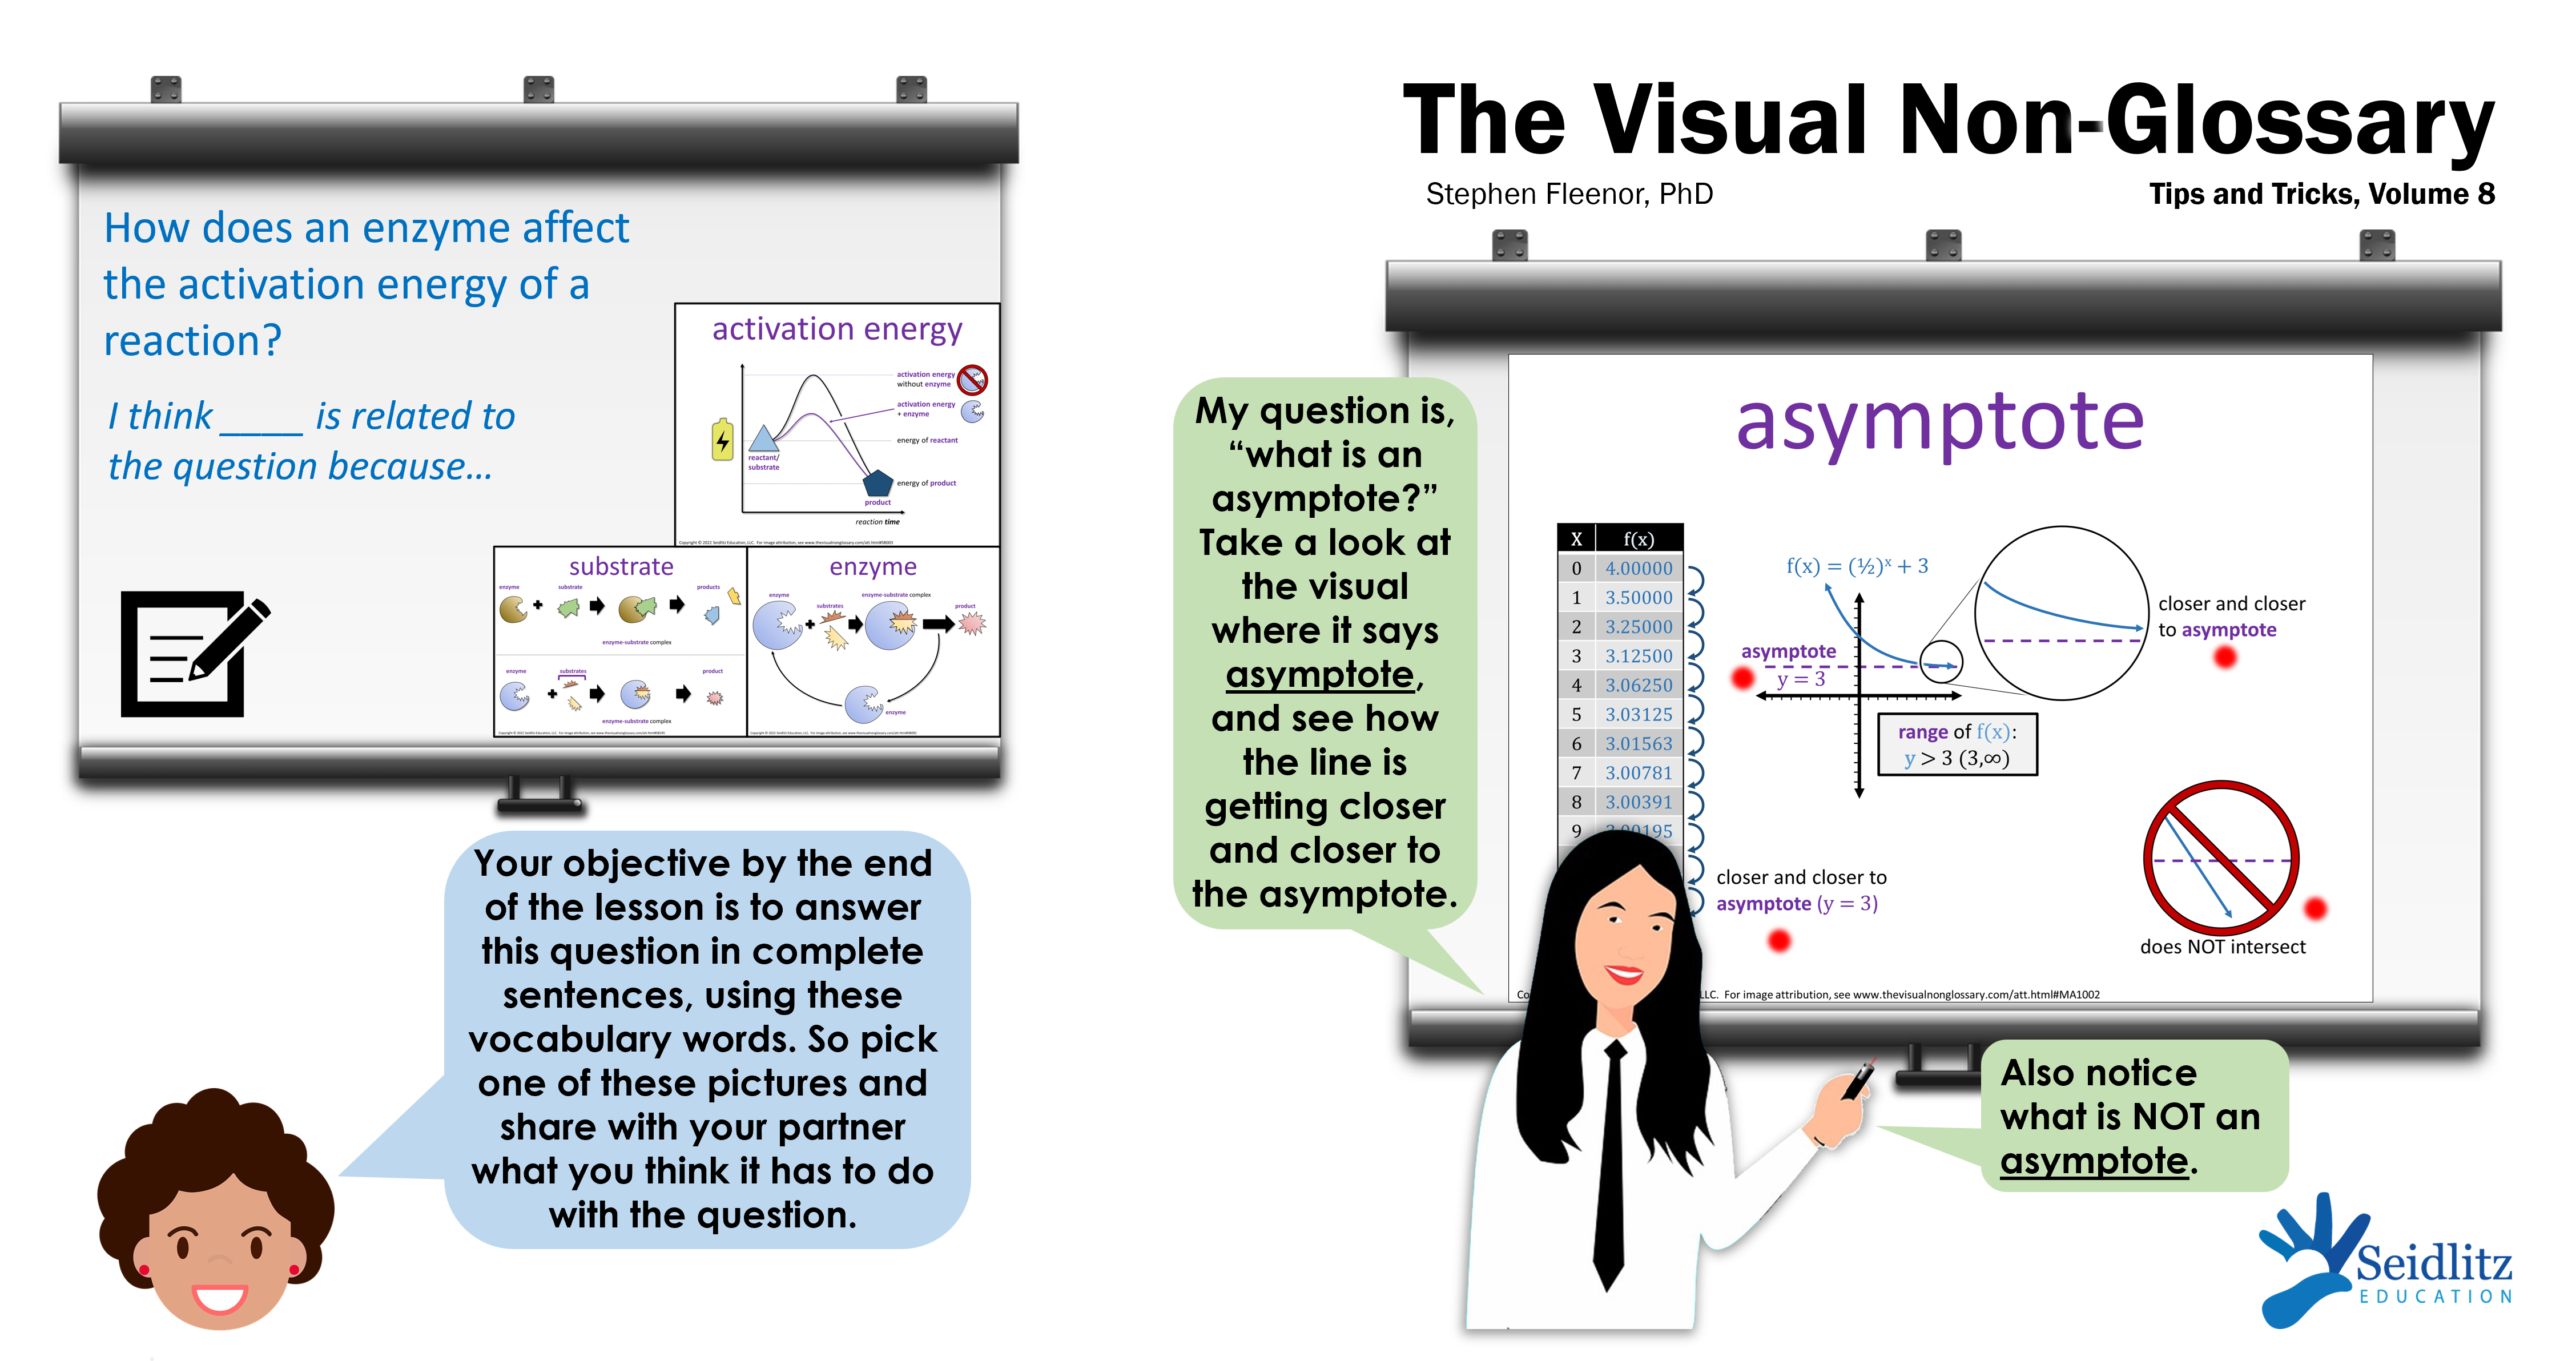
After the warm-up or bell-ringer exercise, prepare students for the lesson by having them preview visuals related to the day’s vocabulary, as well as have them preview the final question of the lesson. This question can be exit ticket or closure of the lesson. Often an easy way to find a good question is to take the final (inferential) question of the main vocabulary word of the lesson. For example, for the word “activation energy,” the final question “How does an enzyme affect the activation energy of a reaction” can serve as the closure, and activation energy, enzyme, and substrate can serve as the key vocabulary.

When the visuals for these vocabulary words and the final question are displayed, students can preview them by discussing with their partners or groups using any of the following sentence stems:

I think the question is asking…
I think the word _____ is related to the question because…
I think the word _____ means… because…
The picture makes me think of… because…


Guiding Student through a Visual
Structured visuals often have a lot of detail, and it can help students to guide them through key parts of it. An easy way to start is to point out the places on the visual in which the vocabulary word is labelled. If you see any brackets, arrows, or lines that are purple, or any images that have a purple glow around them, that indicates the vocabulary word. For example, in the visual for the GI Bill, there is context shown before and after the passage of the GI Bill, but the GI Bill itself is a scroll of parchment with a purple glow. Having students focus on this as they think about the question can reduce intimidation and give more refined, thoughtful responses.

Volume 7: Building Confidence

August 8th, 2022

Model Pronunciation
This sounds simple, but it makes a huge difference in building students' confidence. I recommend starting the lesson...

Model Pronunciation
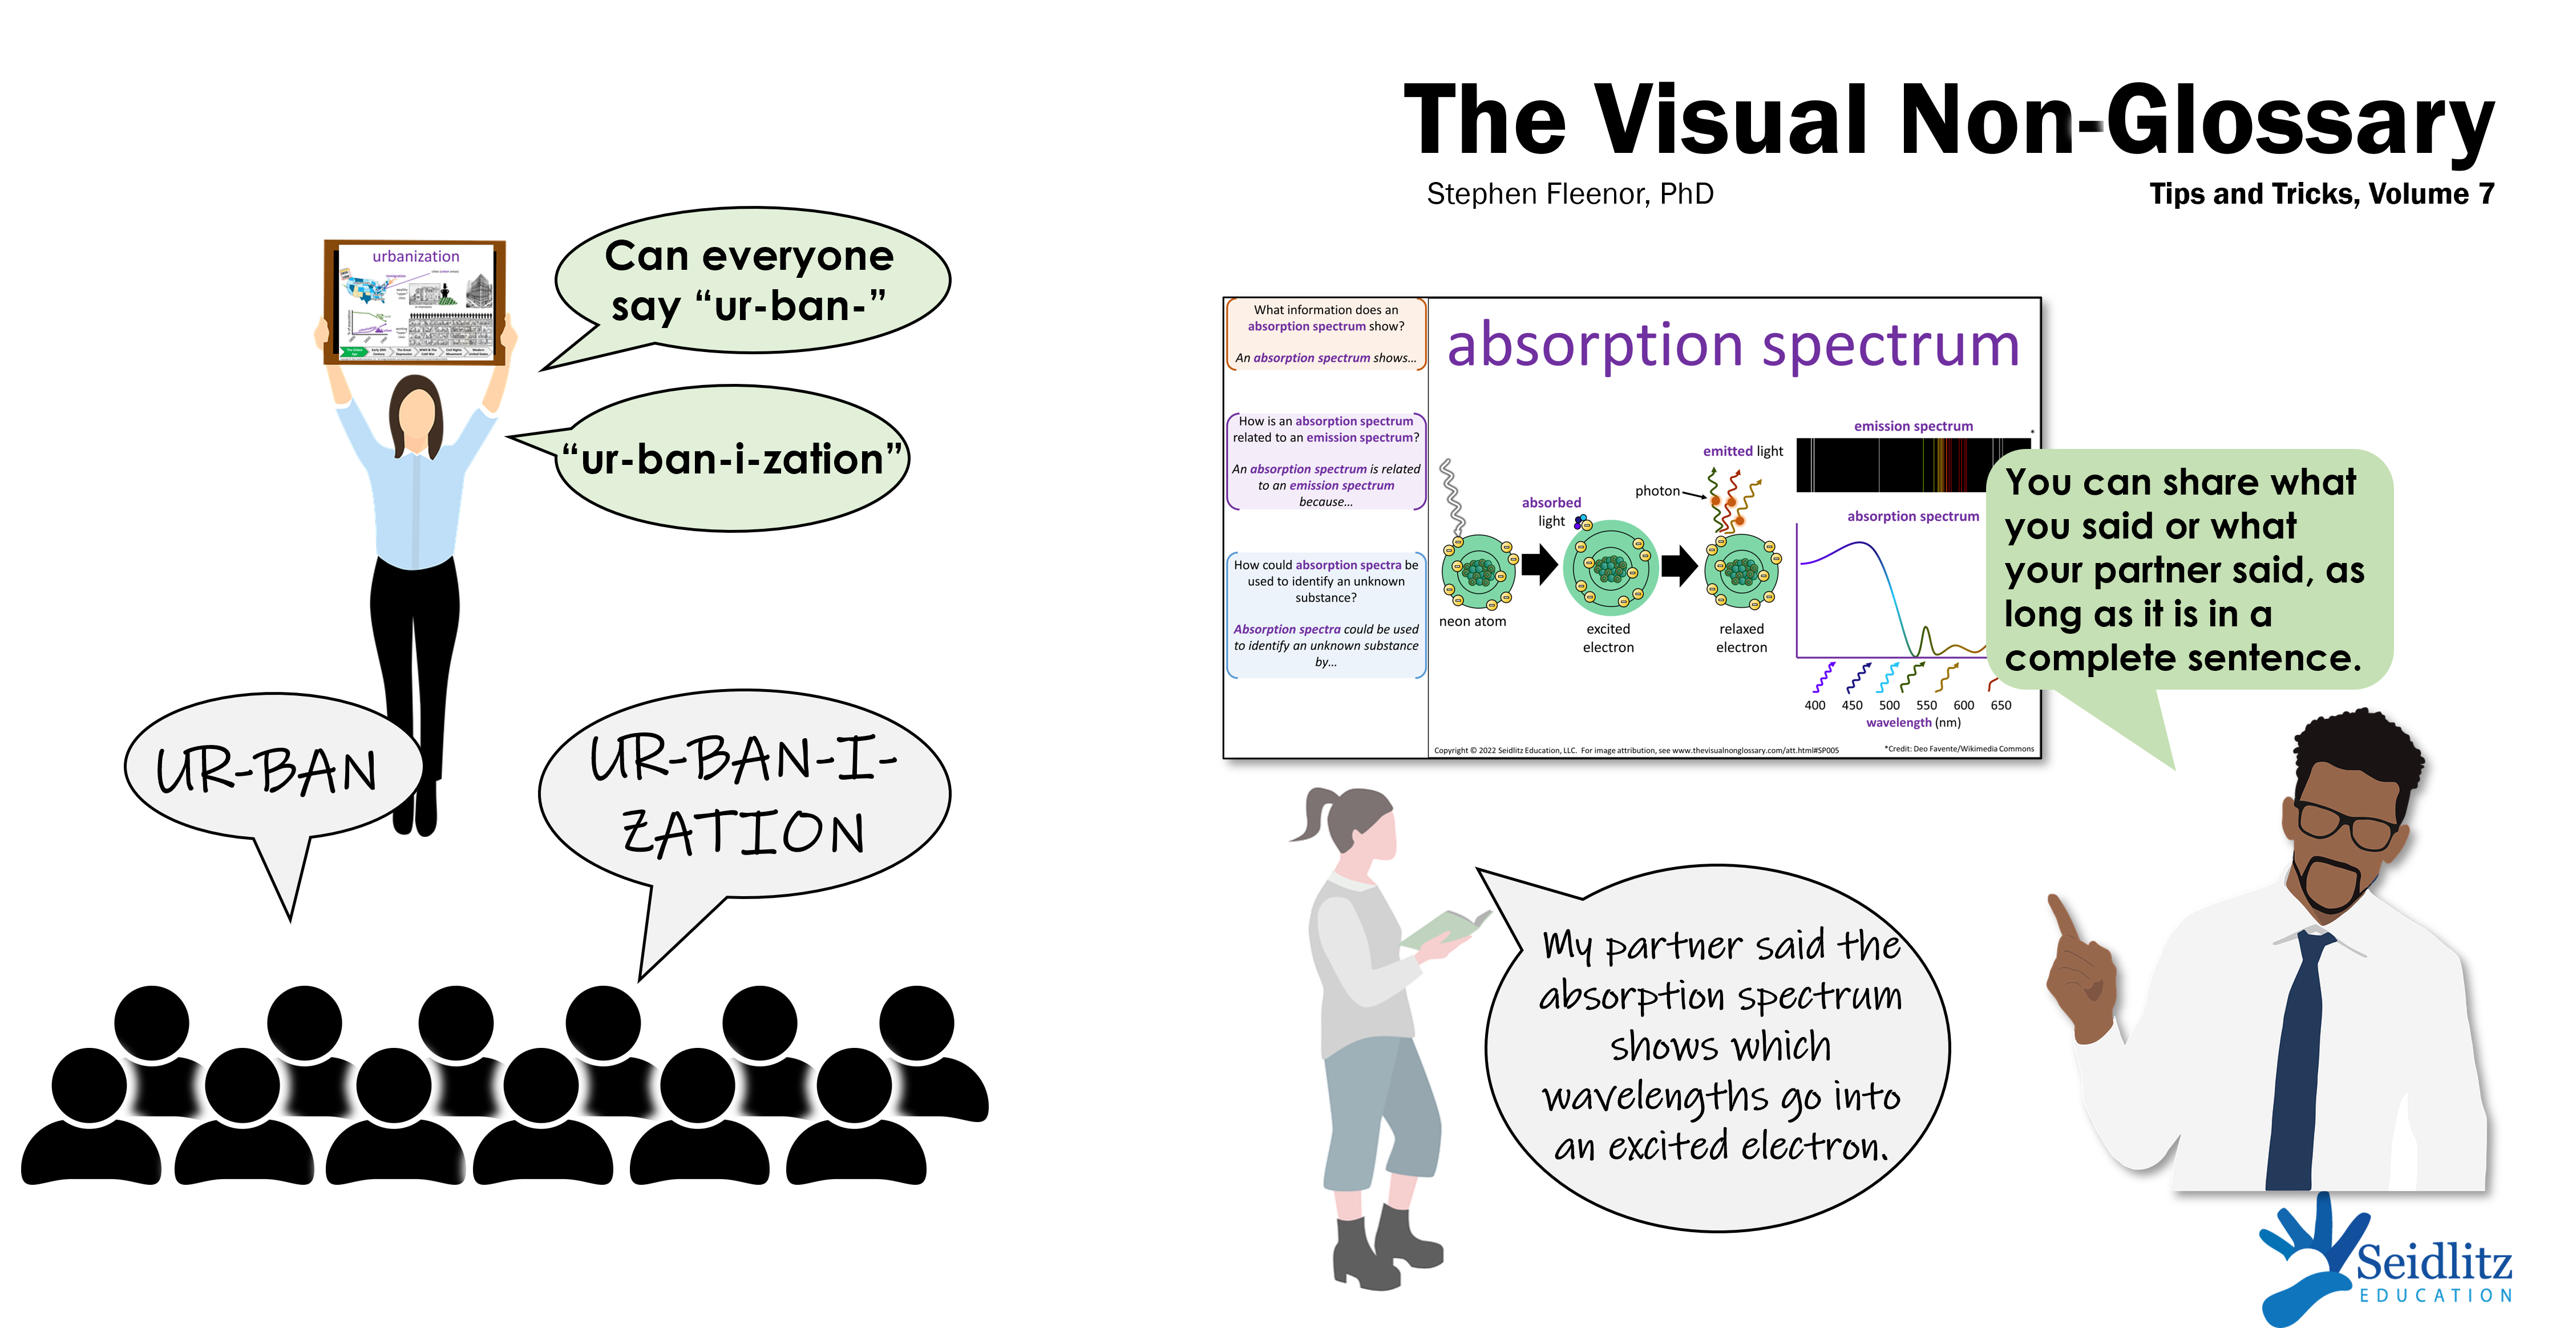
This sounds simple, but it makes a huge difference in building students' confidence. I recommend starting the lesson (perhaps after the warm-up) by asking students to pronounce the key vocabulary word of the lesson out loud as a class. You can read out the word slowly and ask them to repeat it, or break up the syllables for them (such as "Appom-, Appomatt-, Appomattox").

This strategy works because students feel safer trying to say the word with the rest of the class, and then they have confidence in their small-group discussions using the word.


Allow Students to Share What Their Partner Said
Also super simple, also super powerful. Before calling on a student after they have had small-group or partner conversations, let the students know that they are free to share their answer or their partner's. I like to phrase it by saying, "if I call on you, feel free to share what you said or what your partner said, as long as you use this word in a complete sentence."

This builds students' confidence because they have the support of their partner (whether it's a weak or strong response, it still belongs to their partner, which takes pressure off the student), and it also reminds students to use the sentence stem for support.

Volume 6: Building Literacy

April 5th, 2022

Roving Paragraph
Change the sentence stem provided with one of the questions to start with the word "one." For example...

Roving Paragraph
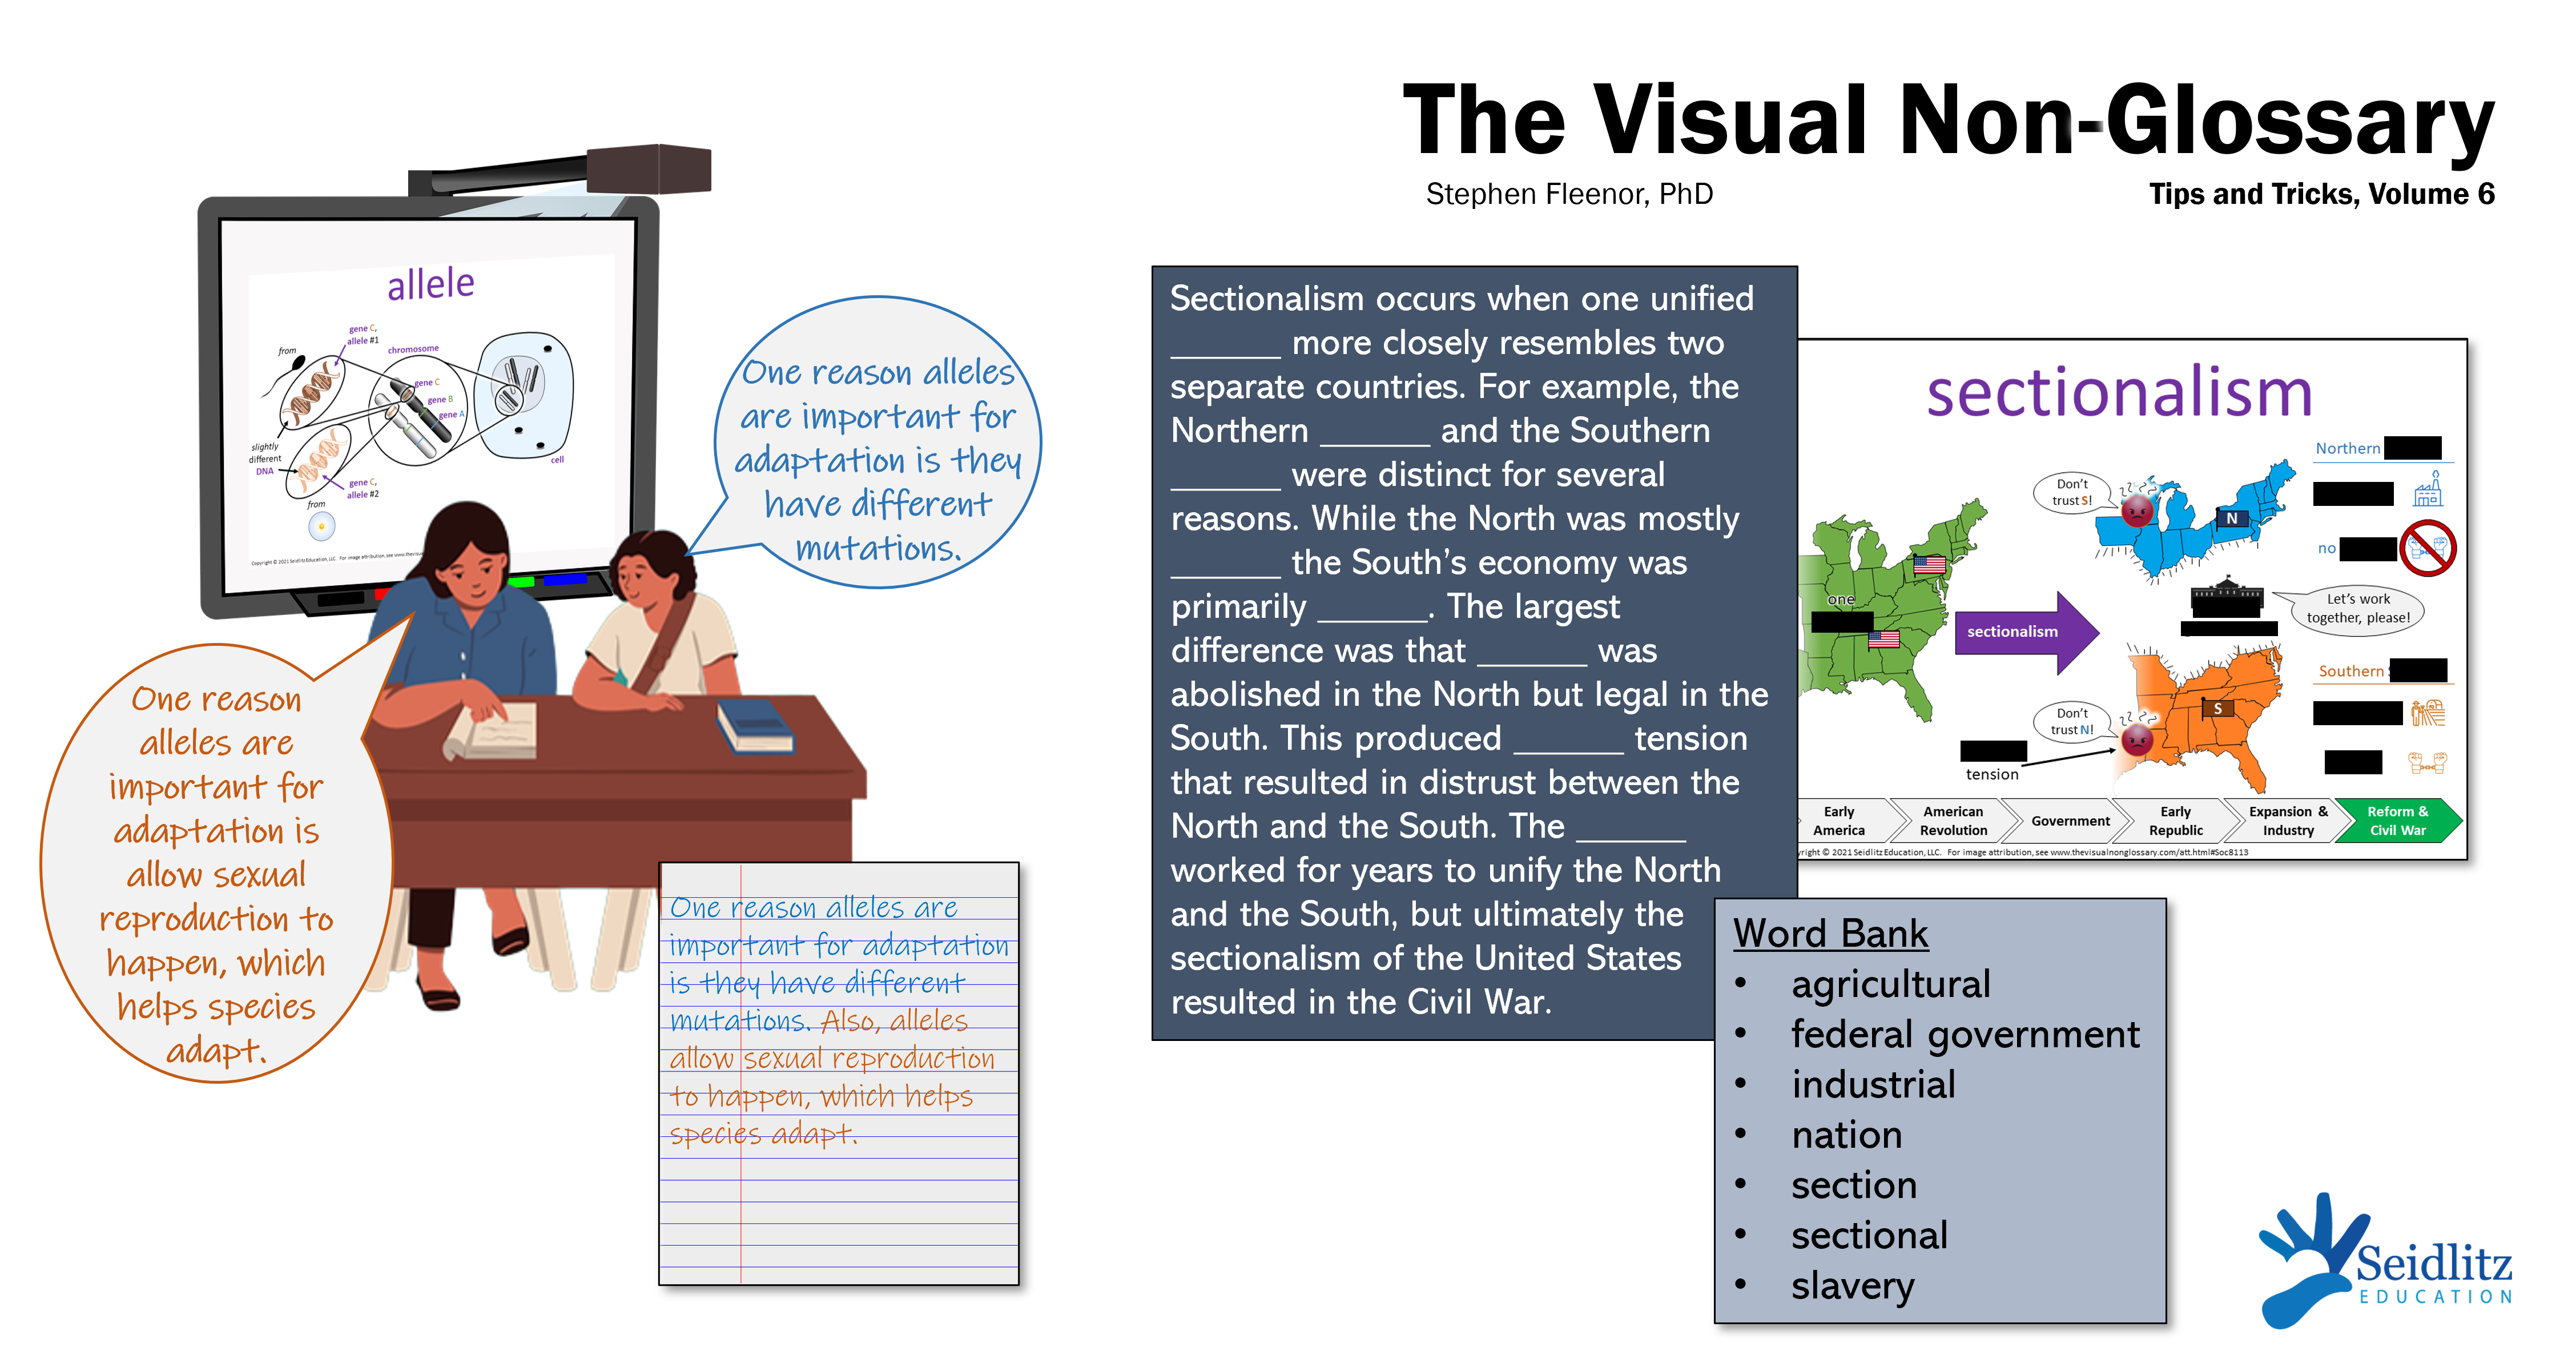
Change the sentence stem provided with one of the questions to start with the word "one." For example:
  • One place the sediments that eroded from the mountain ended up was...
  • One reason alleles are important for adaptation to occur is...
  • One way an acid is different from a base is...
Then have students write an answer to the question and "rove" around the room, sharing their sentences with each other. Each time students share, instruct them to add their classmate's sentence to theirs with a transition word, such as:
  • Additionally, ...
  • Next, ...
  • Also, ...
  • Finally, ...
Have students share with 3-5 students to turn their original sentence into a paragraph!


Cloze Visualizing
Write a paragraph describing the visual, using the key words from the visual or other key academic terms. Cover up those words in the paragraph as well as on the visual. First have students try to guess what words go in which blanks. Then, show them a word bank and have them revisit their guesses. Lastly, show them the correct answers and have them discuss with their partners whether their predictions were correct.

Volume 5: Individual Student Interaction

January 14th, 2022

Students Can Take Notes from The Visuals
Instead of having students take notes from a lecture, try first giving students a visual and having...

Students Can Take Notes from The Visuals
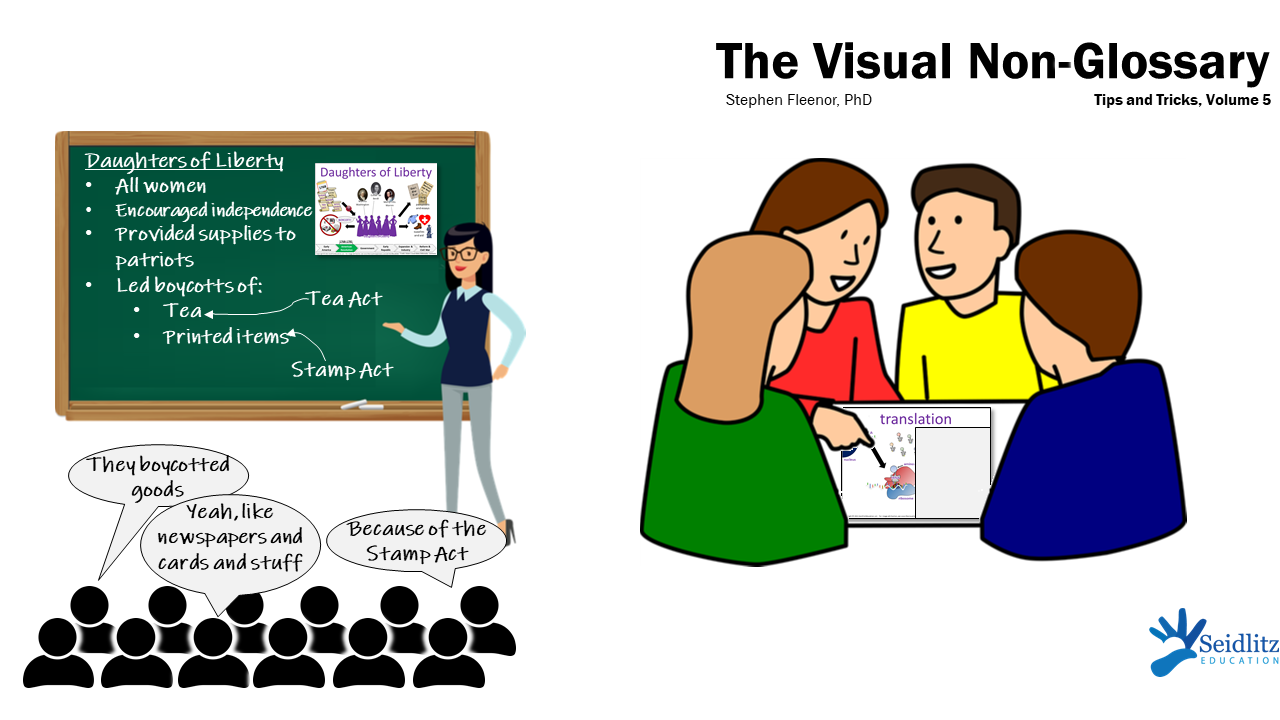
Instead of having students take notes from a lecture, try first giving students a visual and having a structured conversation based on one of the questions. After they have a conversation, you can:
  • As a class, create a bullet-point list of important ideas from the visual for students to copy down, or
  • Have students create a list of important points based on the conversations from their groups, or
  • Have students write out their answer to the question in their notebooks
This way, the note-taking process is a process of reflection on a hands-on activity, rather than passively following along in the class.


Complete the Picture
As a warm-up, introduction to a concept, or even as a review, show students a visual with half of it covered up. Then ask them to draw the second half, or have a conversation in their small groups about what the second half might look like, or both. The visual could be displayed on the board, or by copying and pasting it into a PowerPoint file and covering one side with a rectangle, the visual could be printed out for each group.

Volume 4: Extending Discussions

September 3rd, 2021

Embrace the Non-Perfect Responses
Many students who respond to the conversation prompts in The Visual Non-Glossary might not have perfect or...

Embrace the Non-Perfect Responses
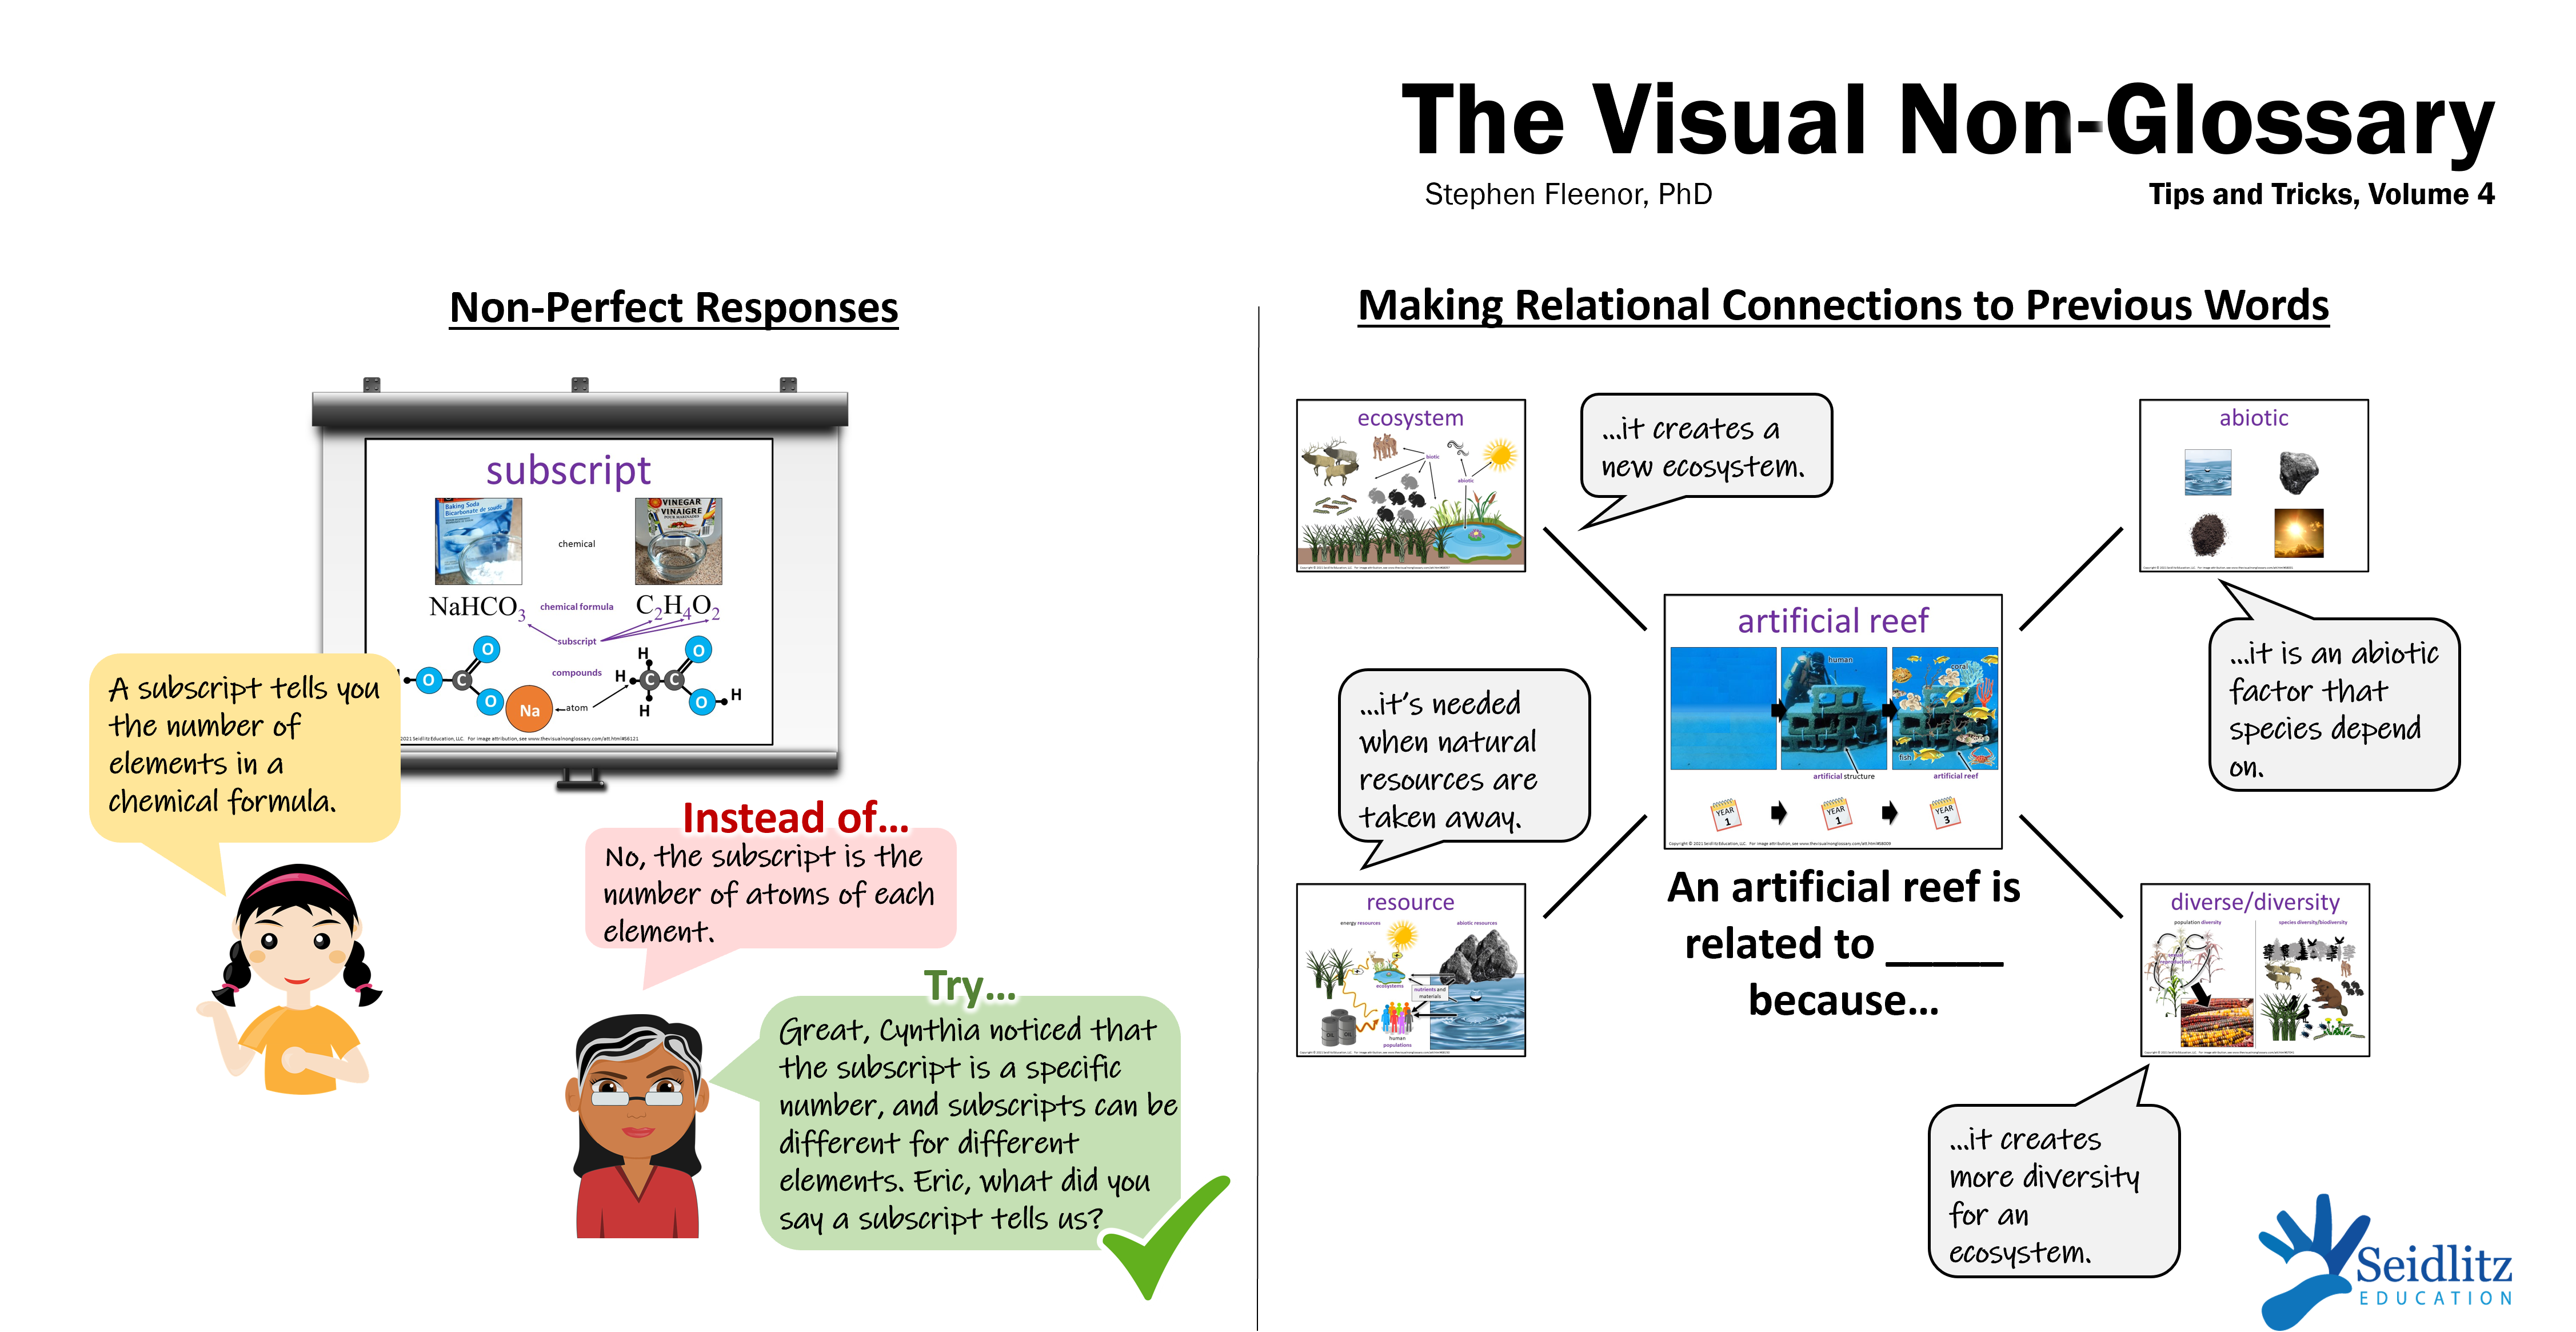
Many students who respond to the conversation prompts in The Visual Non-Glossary might not have perfect or completely right answers, and that is a good thing! That is because when we call on several students and ask them to share not the right answer, per se, but their most thought-out answer, we create a culture of discussion, deep-thinking, and confidence. When part of a students' response is incorrect or incomplete, highlight the parts of that student's response which were correct, and then call on another student.

For example, if a student (let's call her Cynthia) says "A subscript tells you the number of elements in a chemical formula," instead of responding "No, the subscript is the number of atoms of each element," a teacher might respond: "Great, Cynthia noticed that the subscript is a specific number, and subscripts can be different for different elements. Eric, what did you say a subscript tells us?"

After calling on two or more students, if anything is missing from students' responses, we can always add in details, such as "Did anyone notice that the subscript lets you connect a chemical formula to the structure of a compound?"


Extend Lessons by Having Students Make Relational Connections
After students have discussed the three guiding questions for a certain visual, we can extend their learning by asking them to identify one other word from earlier in the year that this word is related to. Students can discuss the relationship using the sentence stem, _____ is related to _____ because...

For example, a student might say, "An artificial reef is related to diversity because it creates more diversity in an ecosystem" or, "An artificial reef is related to abiotic because it is an abiotic factor that species depend on."

Volume 3: Review/Preview with Discussion

March 30th, 2021

Review/Preview by Having Students Guess The Word
As a warm-up/bell-ringer/do-now activity, display 3-4 visuals that have either previously been covered or will be...

Review/Preview by Having Students Guess The Word
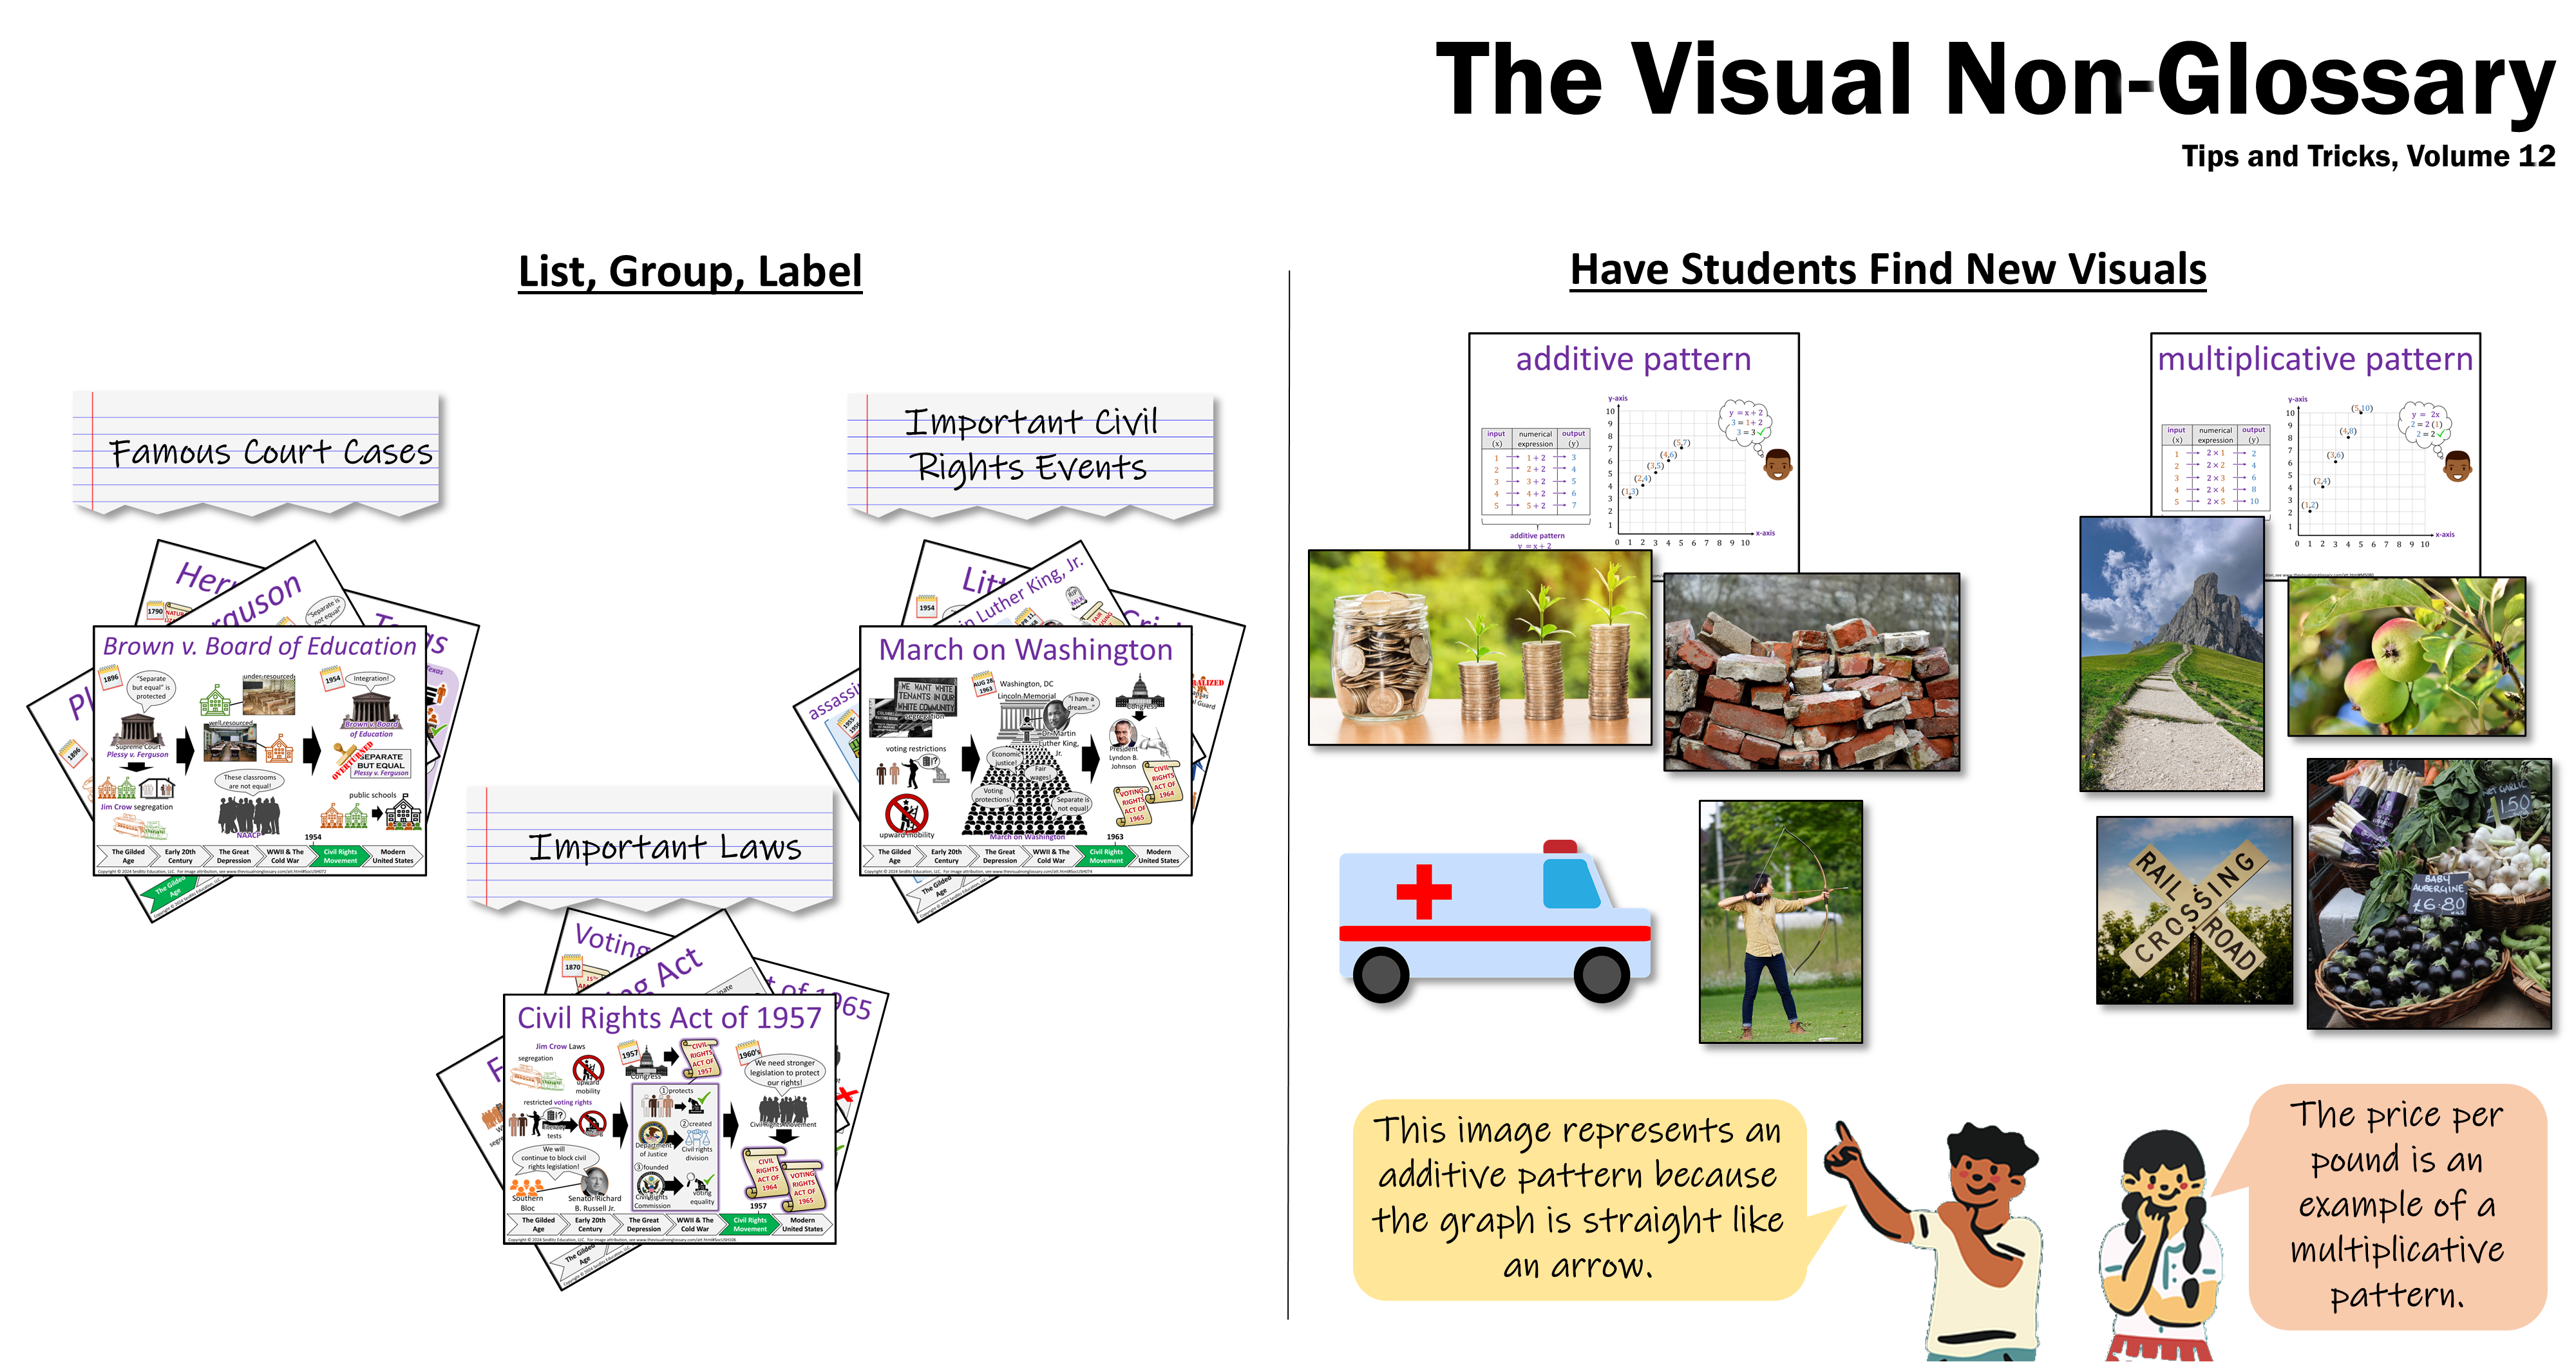
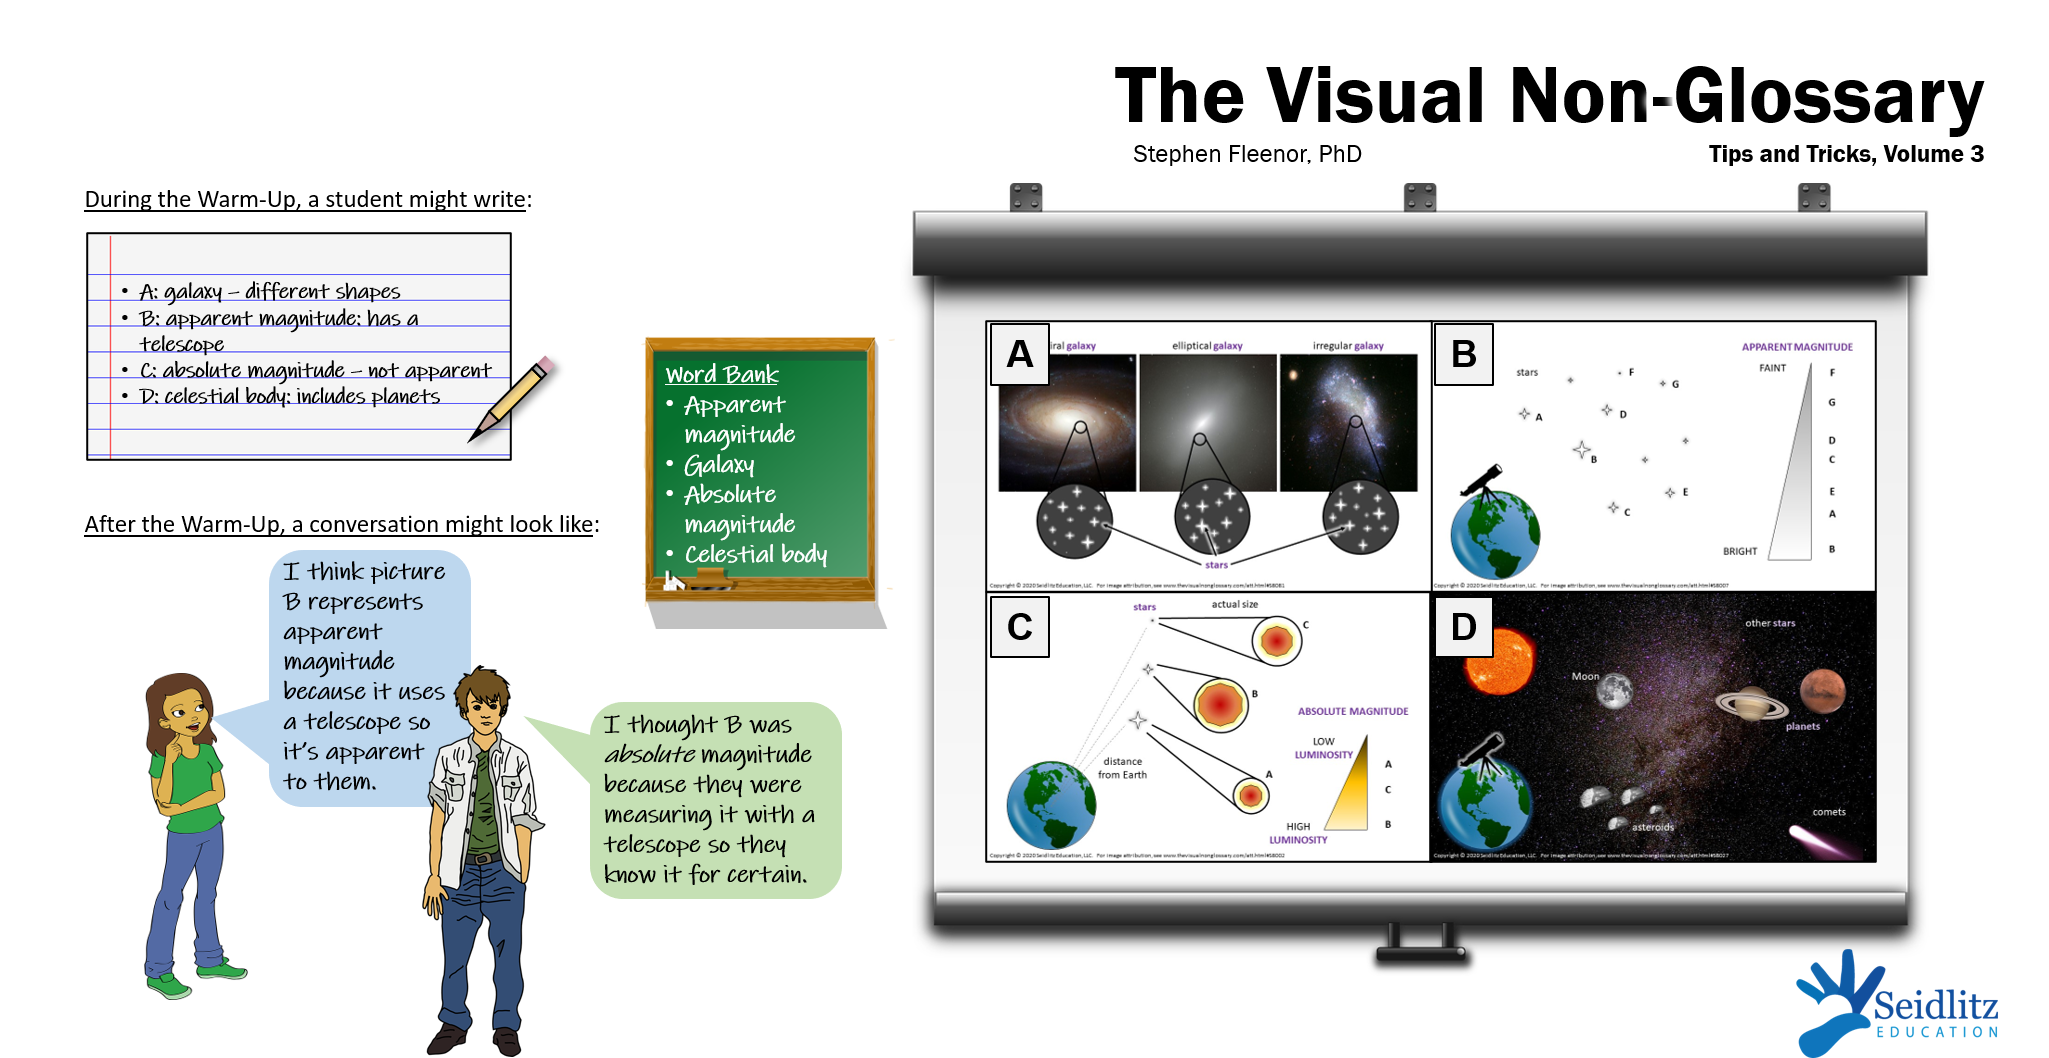
As a warm-up/bell-ringer/do-now activity, display 3-4 visuals that have either previously been covered or will be featured in the lesson. Cover or crop out the words and questions and ask students to try to identify which words represent which visuals. This can be done with a word bank, without a word bank, or by giving students a word bank after they have guessed the words. It is important to remind students to provide some justification as to why they chose each word for each picture.

After students have brainstormed individually and the class has started, have students share in partners or small groups using a sentence stem such as "I think picture ___ represents ________ because..."


Specify Who Goes First
When having students discuss a visual in groups or breakout rooms, instructing very clearly who will speak first in the group can motivate groups to start talking and ensure equitable discussion within the group. This can be done using superlatives, such as "person with the longest hair" or "person whose name is closest to A in the alphabet."

This can also be done by setting up a lettering system. In an initial warm-up or group discussion, students can be instructed to each pick a letter (A, B, C, D, etc.). In subsequent discussions, groups can be instructed that a specific letter is going to speak first. This system can also be used to randomly call on students after a discussion (e.g., "Let me hear from Person C of each group").

Volume 2: Engaging Students in Discussions

January 26th, 2021

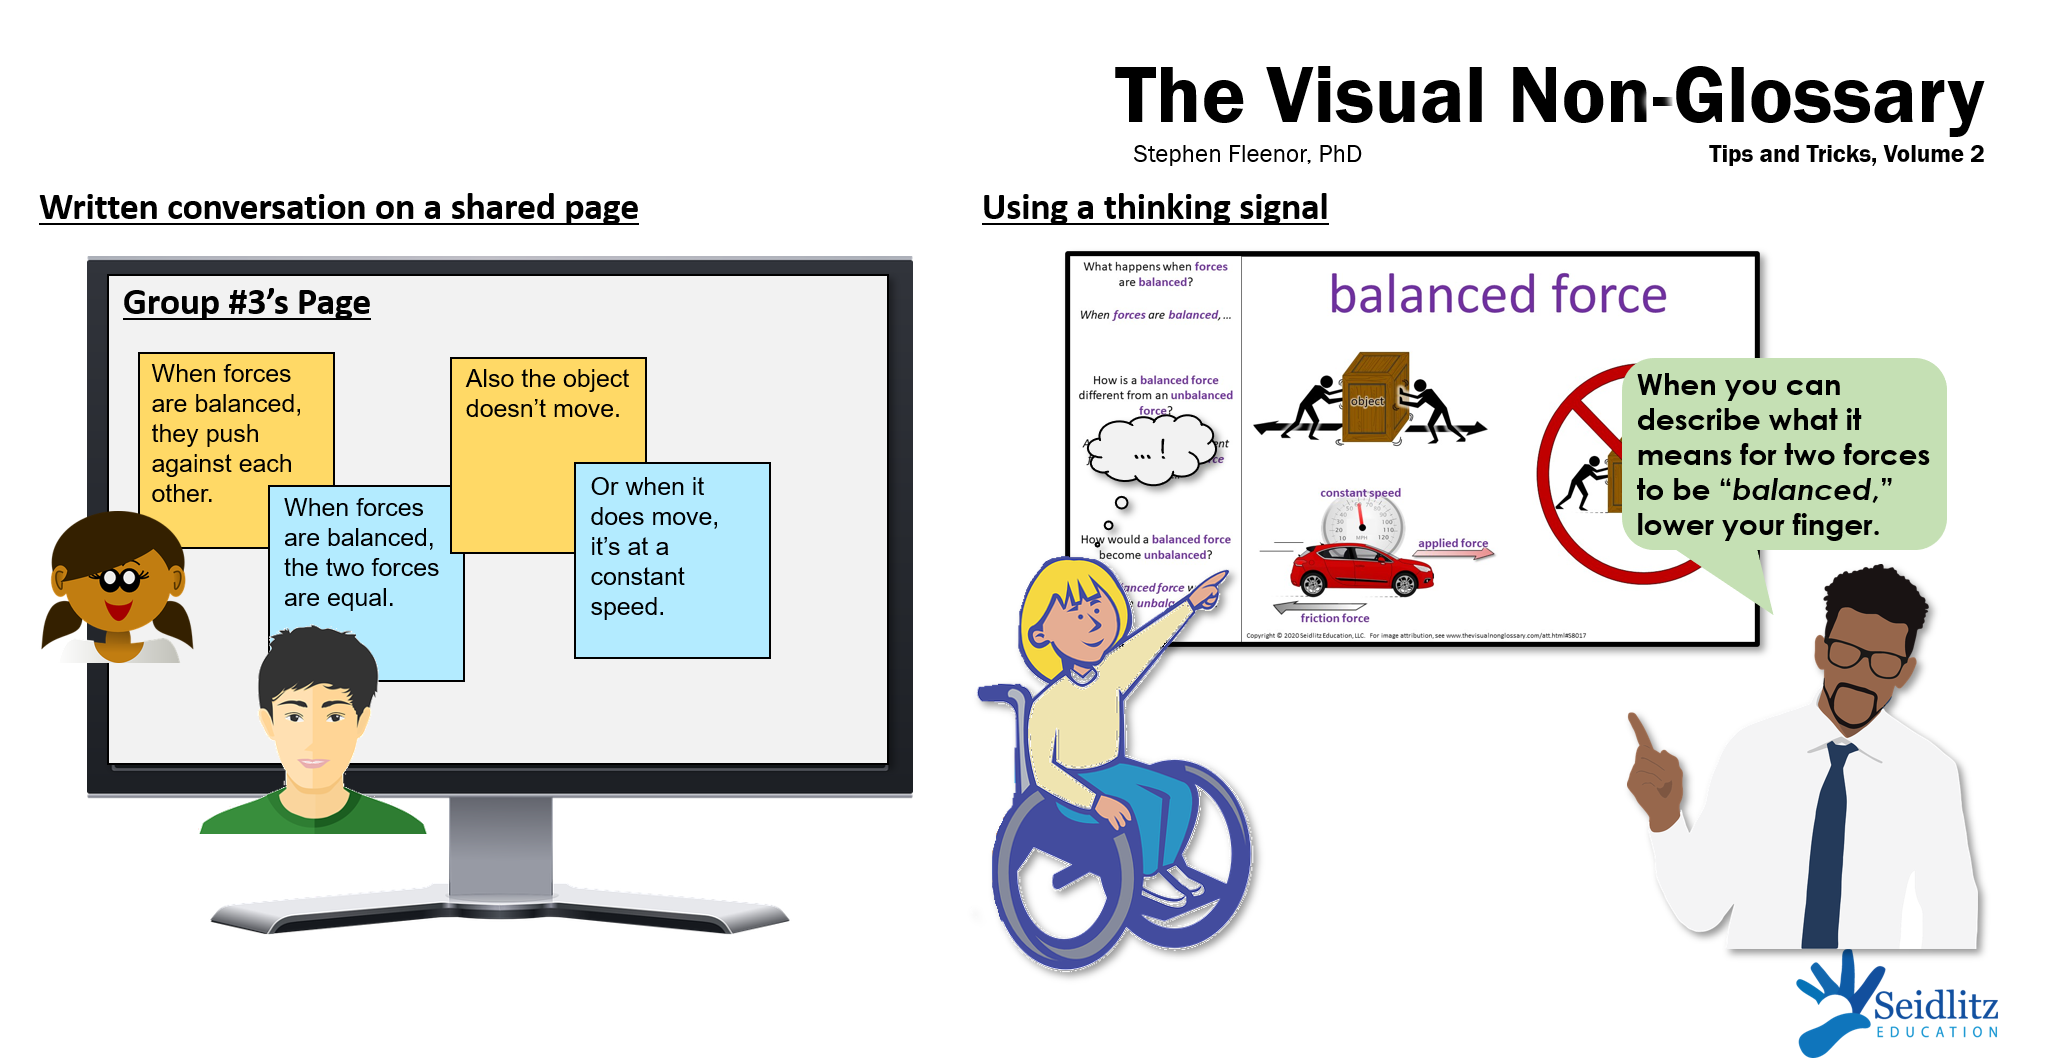
Thinking Signal
Having students show a thinking signal is a powerful strategy for providing the right amount of...

Thinking Signal
Having students show a thinking signal is a powerful strategy for providing the right amount of wait time, as well as helping students focus on the question. Classic thinking signals include giving a thumbs up, lowering one's hand, or sitting down when ready. In virtual or hybrid lessons, students can be instructed to type a specific letter into the chat but to not send it until they are ready to answer the question. My favorite thinking signal, in any type of lesson: instruct students to point to the vocabulary word above the visual, or the sentence stem, and to not lower their fingers until they are ready to finish the sentence. This gives them think time while priming them to use the key vocabulary word in their responses!


Interaction without Breakout Rooms
In virtual and hybrid lessons, highly structured breakout room sessions are excellent for students to interact with the visual, processing the content and practicing the language. In addition to breakout rooms, here are some excellent options for online interaction:

  • Have students post a video on Flipgrid using the sentence stem, then instruct them to respond to other students' videos using stems such as "I agree/disagree with ____ because..." or "My response was different from ____ because..."
  • Assign partners or groups, then instruct each group to send messages to each other on a specific shared document, Google Jamboard page, or Padlet post.
  • Have students submit their complete sentences to the chat or a shared document or discussion board, then call on one or two students to unmute and read out loud their favorite response, giving credit to that student.
Note: However the students interact, it is key to follow up interaction with whole-group sharing by randomly calling on one or more students. This signals to the students that their peer-to-peer conversations matter!

Volume 1: Beginning and End of the Lesson

December 1st, 2020

Focus on 2-4 Words in Each Lesson
During the first 2-5 minutes of class when students are entering and getting settled, display the visual for...

Focus on 2-4 Words in Each Lesson
While many vocabulary words will come up in each lesson, we can help students master vocabulary by specifically focusing on 2-4 words in each lesson. For the following activities, think of 2-4 visuals from The Visual Non-Glossary to have students interact with during the lesson.

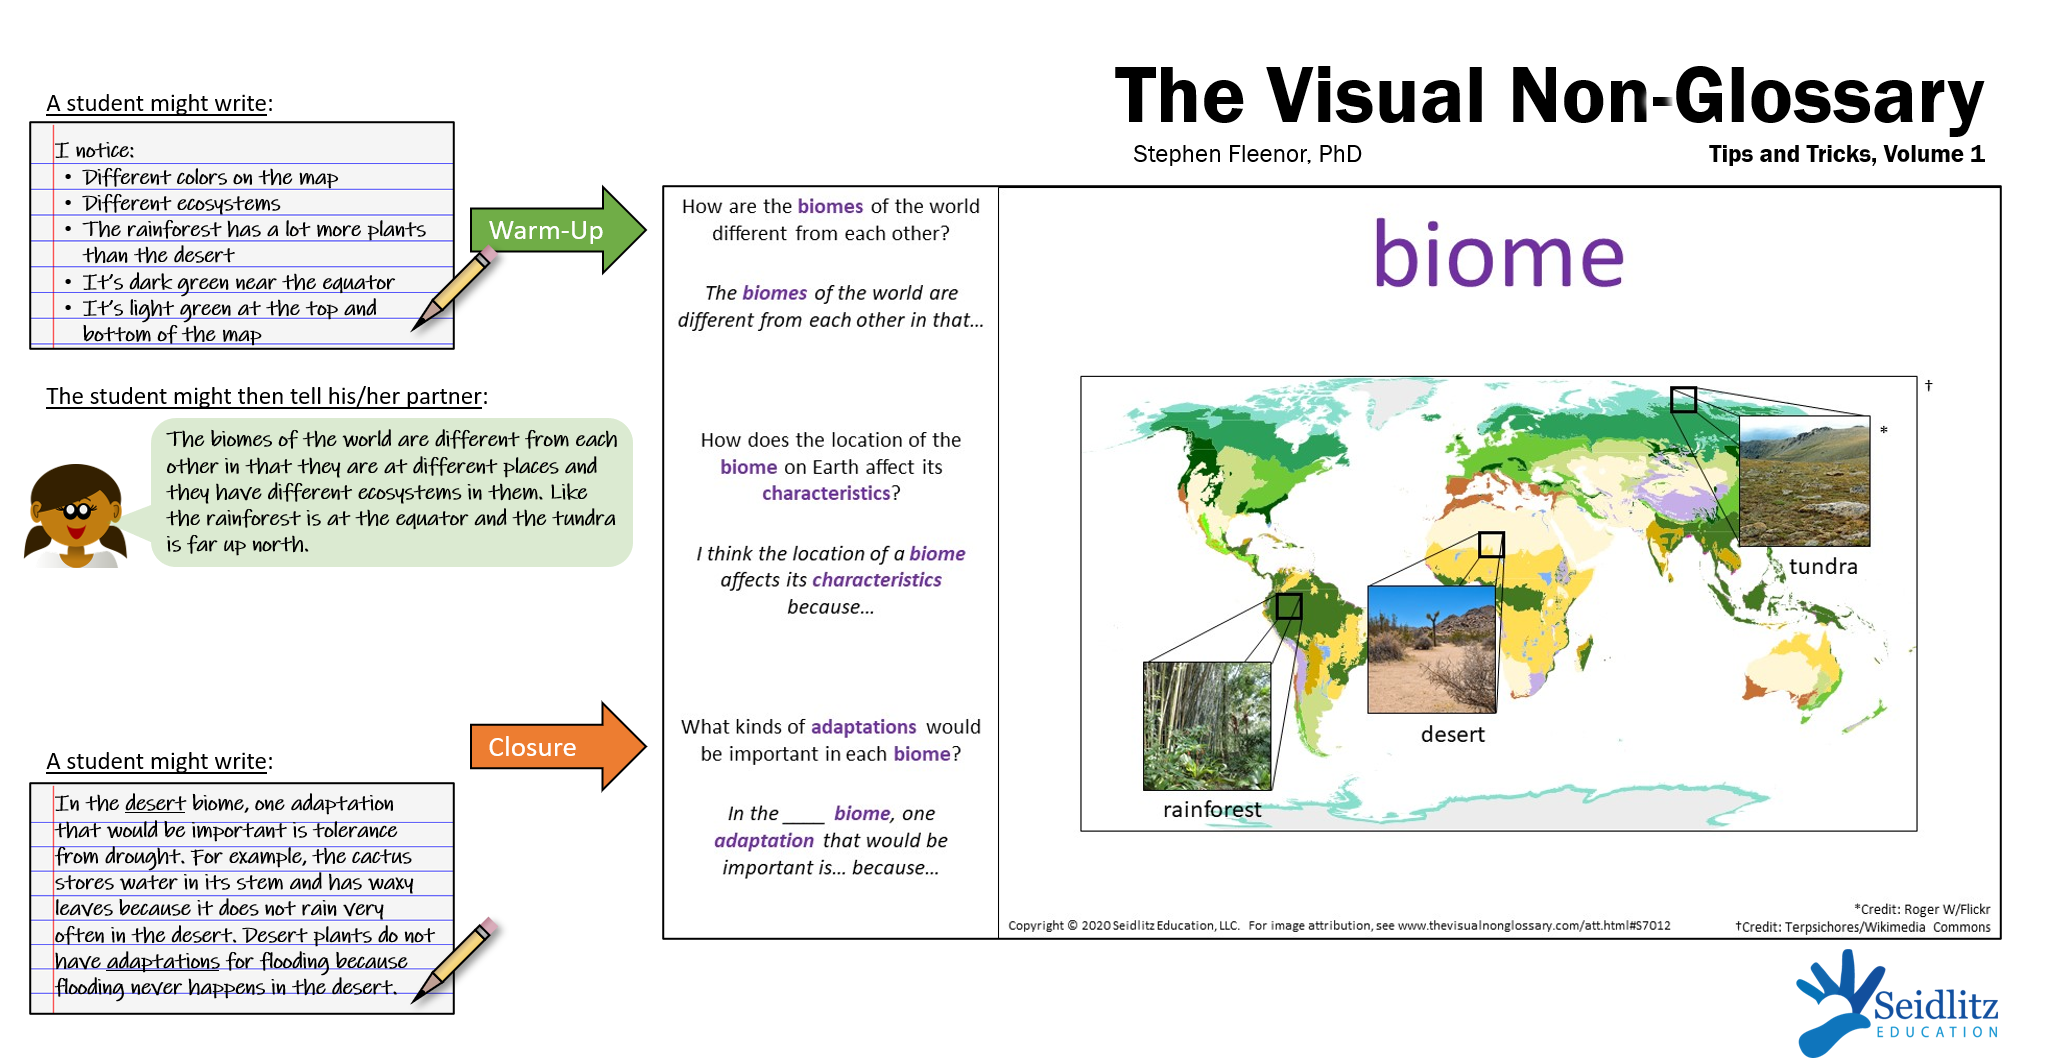
Warm-Ups/Bell-Ringers/Do-Nows
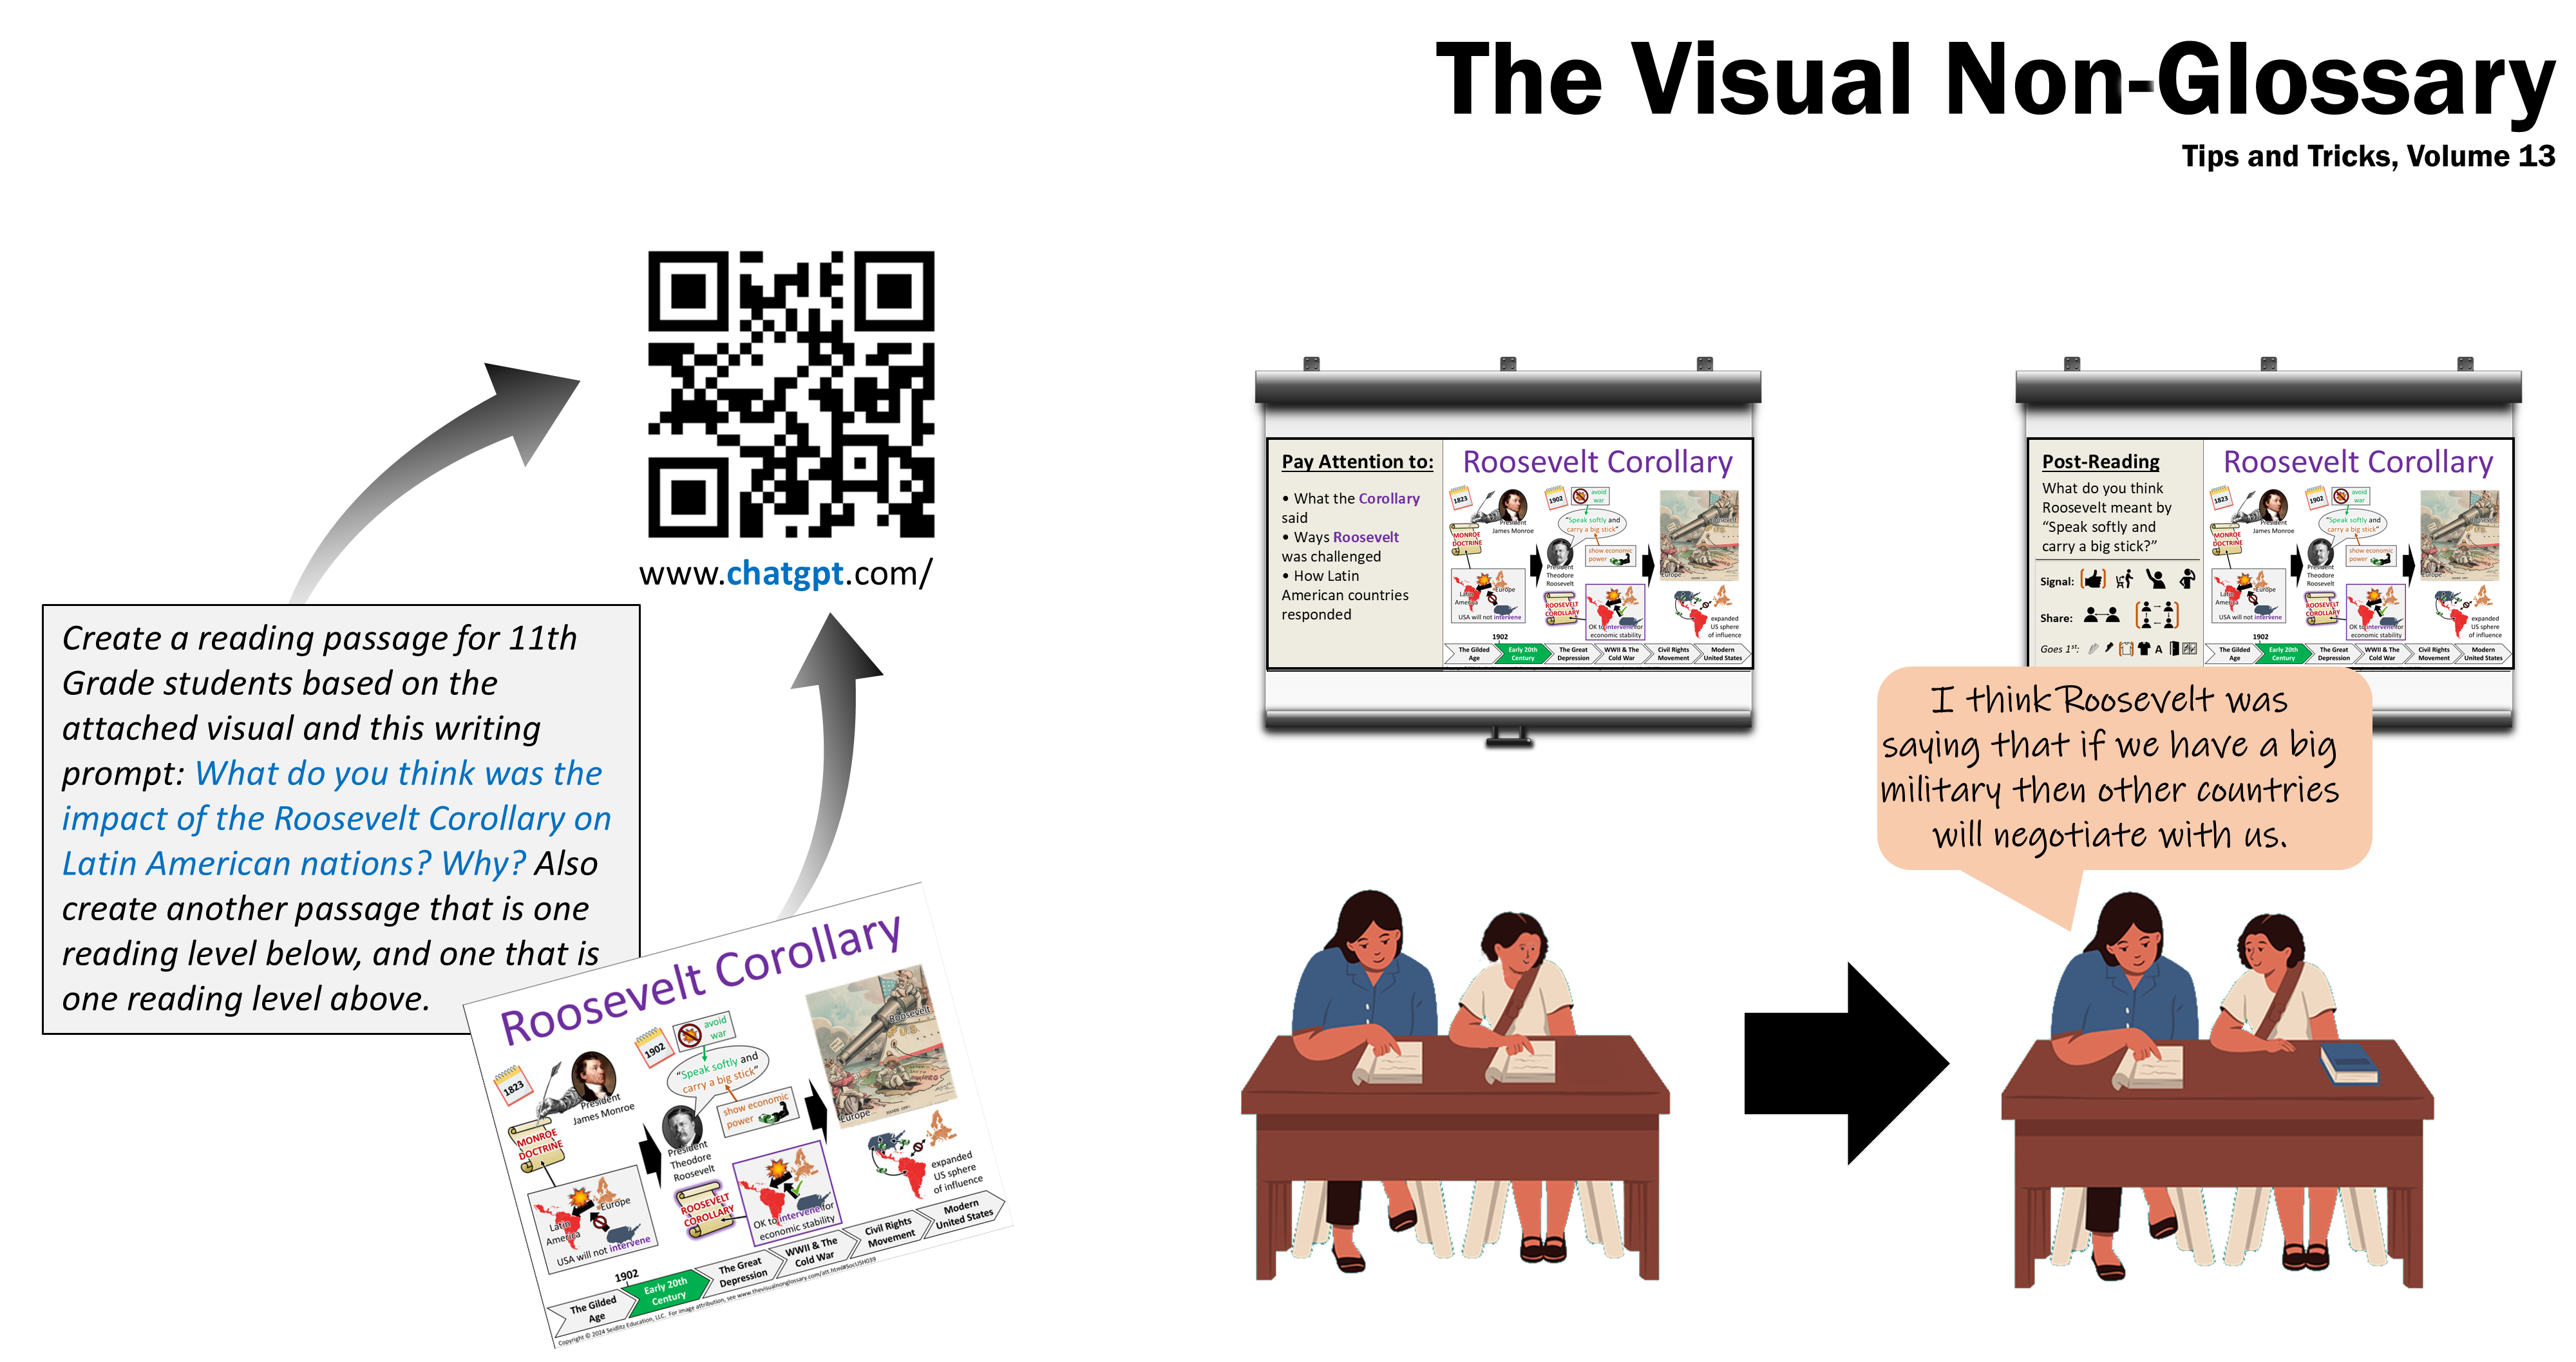
During the first 2-5 minutes of class when students are entering and getting settled, display the visual for one of the words and have students write down everything they notice in the visuals. When the time is up and everyone is ready, ask the students the first question in the visual and have them share their answers with their partners or breakout groups.


Closures/Exit Tickets
During the last 3-7 minutes of class, have students write an answer to the last question in the visual of one of the day's words. For added elaboration, have students provide examples and encourage students to use all of the day's 2-4 vocabulary words in their responses.